![[projects/pantry build log/Index]]
# Milestone 2.1: Take, two
With new tools and a determination no longer born from the honeymoon dopamine phase, I got to work by starting over completely. First thing, I learned my lesson on MDF (keep typing MD5 here, that's a hashing algorithm…) sucks, you can't trust it to be straight, and it can explode if water touches it. Turns out that Home Depot and Lowes have shit Plywood selections in store, but online, wow. They got some good stuff, looks like it's ordering from a third party, and the shipping is free! Awesome. So started getting a bunch of 3/4 2×4 maple (I think) plywood panels.
Using the table saw, cutting these down into exact measurements was a breeze. It was such a pleasant experience compared to the circular saw, no more quadruple checking, no more insane amount of dust particles to the face.
I do wear a dust mask, and now I've even started using a respirator as well, especially when cutting garbage boards, like MDF, never know what's in them. Also got this cheapo air filtration system hanging in my garage, took a piece of my finger just off to hang it. Seriously, you can't be too careful with protecting your lungs, breathing is kinda important. Dust extraction is also something lots of woodworkers will talk about and have many opinions on, I'm just doing what I think is best for my situation, shot-vac + air filtration + respirator.

Here are some cabinet images, you can see on the drawer boxes, I messed up while cutting the fronts a bit and had to glue some together. That's okay as these won't even be visible since it'll be covered by the drawer faces.
I don't plan to add any handles or anything to these drawers, instead I've got these rather pricey soft close, push to open slides. They're really nice, just push on the drawer and it pops open! I might add a door kick (metal plate) for the garbage drawer at the base so you can push with your foot without damaging the finish, might do the same with the drawers as well, we'll see.
### Drawer faces
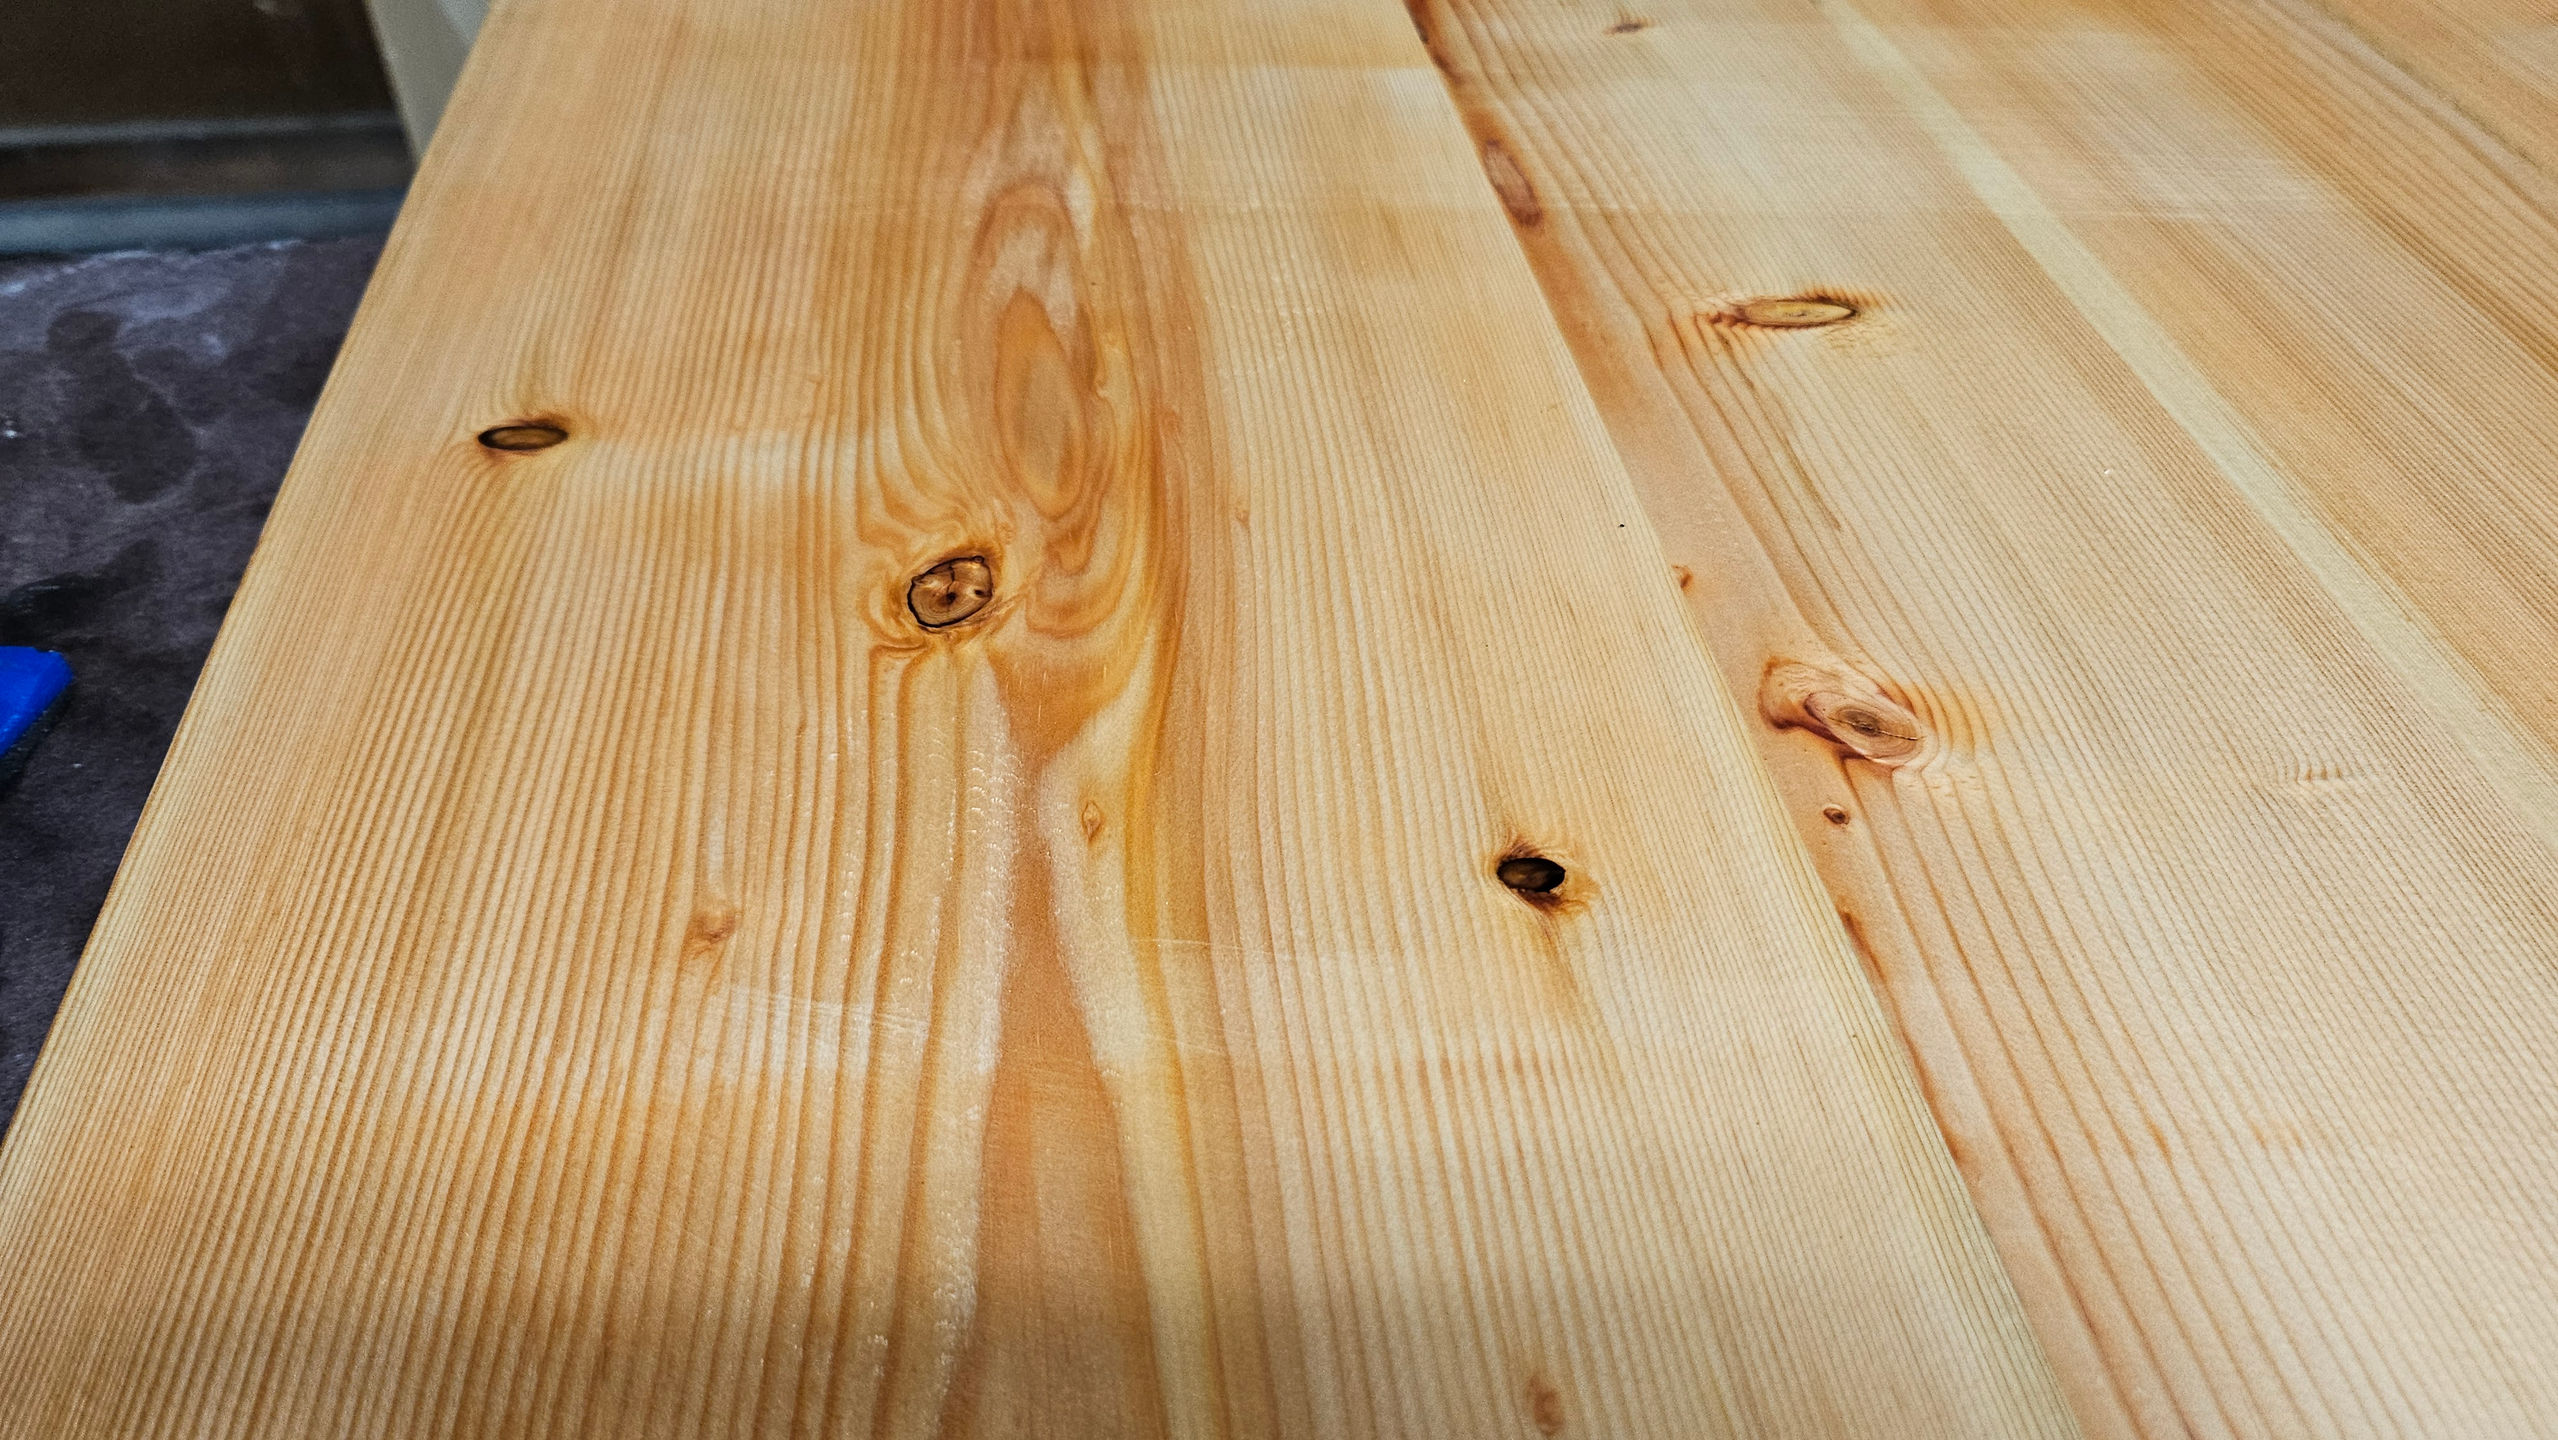
Okay, so the cabinet's done! Awesome, but what about the part I've messed up the most, the drawer faces? Oh and trim, I tried building the trim twice with a circular saw, holy shit was it insanely hard to cut straight 1" pieces. Well, again, table saw made it sooo much easier. Here's one of the few examples I have of some boards pre-glued and finished.
Much cleaner lines, I also started using my hand planer to clean up the edges, I also made sure that when I glued all the pieces together that'd be slight larger, about an 1", on all sides then it needed to be. I did this so that if any piece shifted once it was clamped, I could still square it off after and not worry about it being too small. I think this was one of my better ideas.
What this image doesn't show is how I decided to join the butt-ends, as I mentioned before when talking about a Biscuit joiner, that was not a route I was going to go down. Instead, I did a bit of searching and decided to use a Tongue and groove router bit, overall, worked really well!
After gluing all the fronts together, I filled in the knots and other gaps with clear epoxy and then started applying Tung Oil.
Okay, soooo now lets talk about how to apply a Tung Oil finish… again.
First, how can this be so damn complicated? Well, as I talked about in [[2. Shelves#Mounting the boards#Mistakes|Mounting the boards and mistakes]], there are many, many variables. To make matters worse, when you look up “how to apply Tung oil”, you'll get soooo so many ways to do so. Some examples,
> Sand to 220 and above, load the board up with oil, let sit for an hour and wipe away excess. Wait a day and then repeat.
> Sand to 180/220, apply a thin layer of oil, let sit and wipe away excess after an hour. Repeat this process after letting it dry, 4–6 times.
> Sand to 180/220, apply a thin layer of oil, let sit and wipe away excess after an hour. Repeat this process but sand with increasingly higher level of grit between each layer of tung oil.
>Sand to 180/220, apply a thin layer of oil, let sit and wipe away excess after an hour. Once dry, sand lightly with dry/wet sanding paper and mineral oil. Once done sanding, clean board with Mineral Spirits and then apply tung oil, increase level of grit between each layer of tung oil to 600. Start with 25/75 mineral spirits and tung oil, and with each layer of applied, increase ratio of tung oil and decrease the level of mineral spirits.
So, lets talk about a couple more mistakes I made in the second round of finishing and sanding.
#### Mistakes
**Sanded to a much to high level of grit before applying the finish**, this caused most of the finish to sit on top of the surface instead of being soaked into the wood.
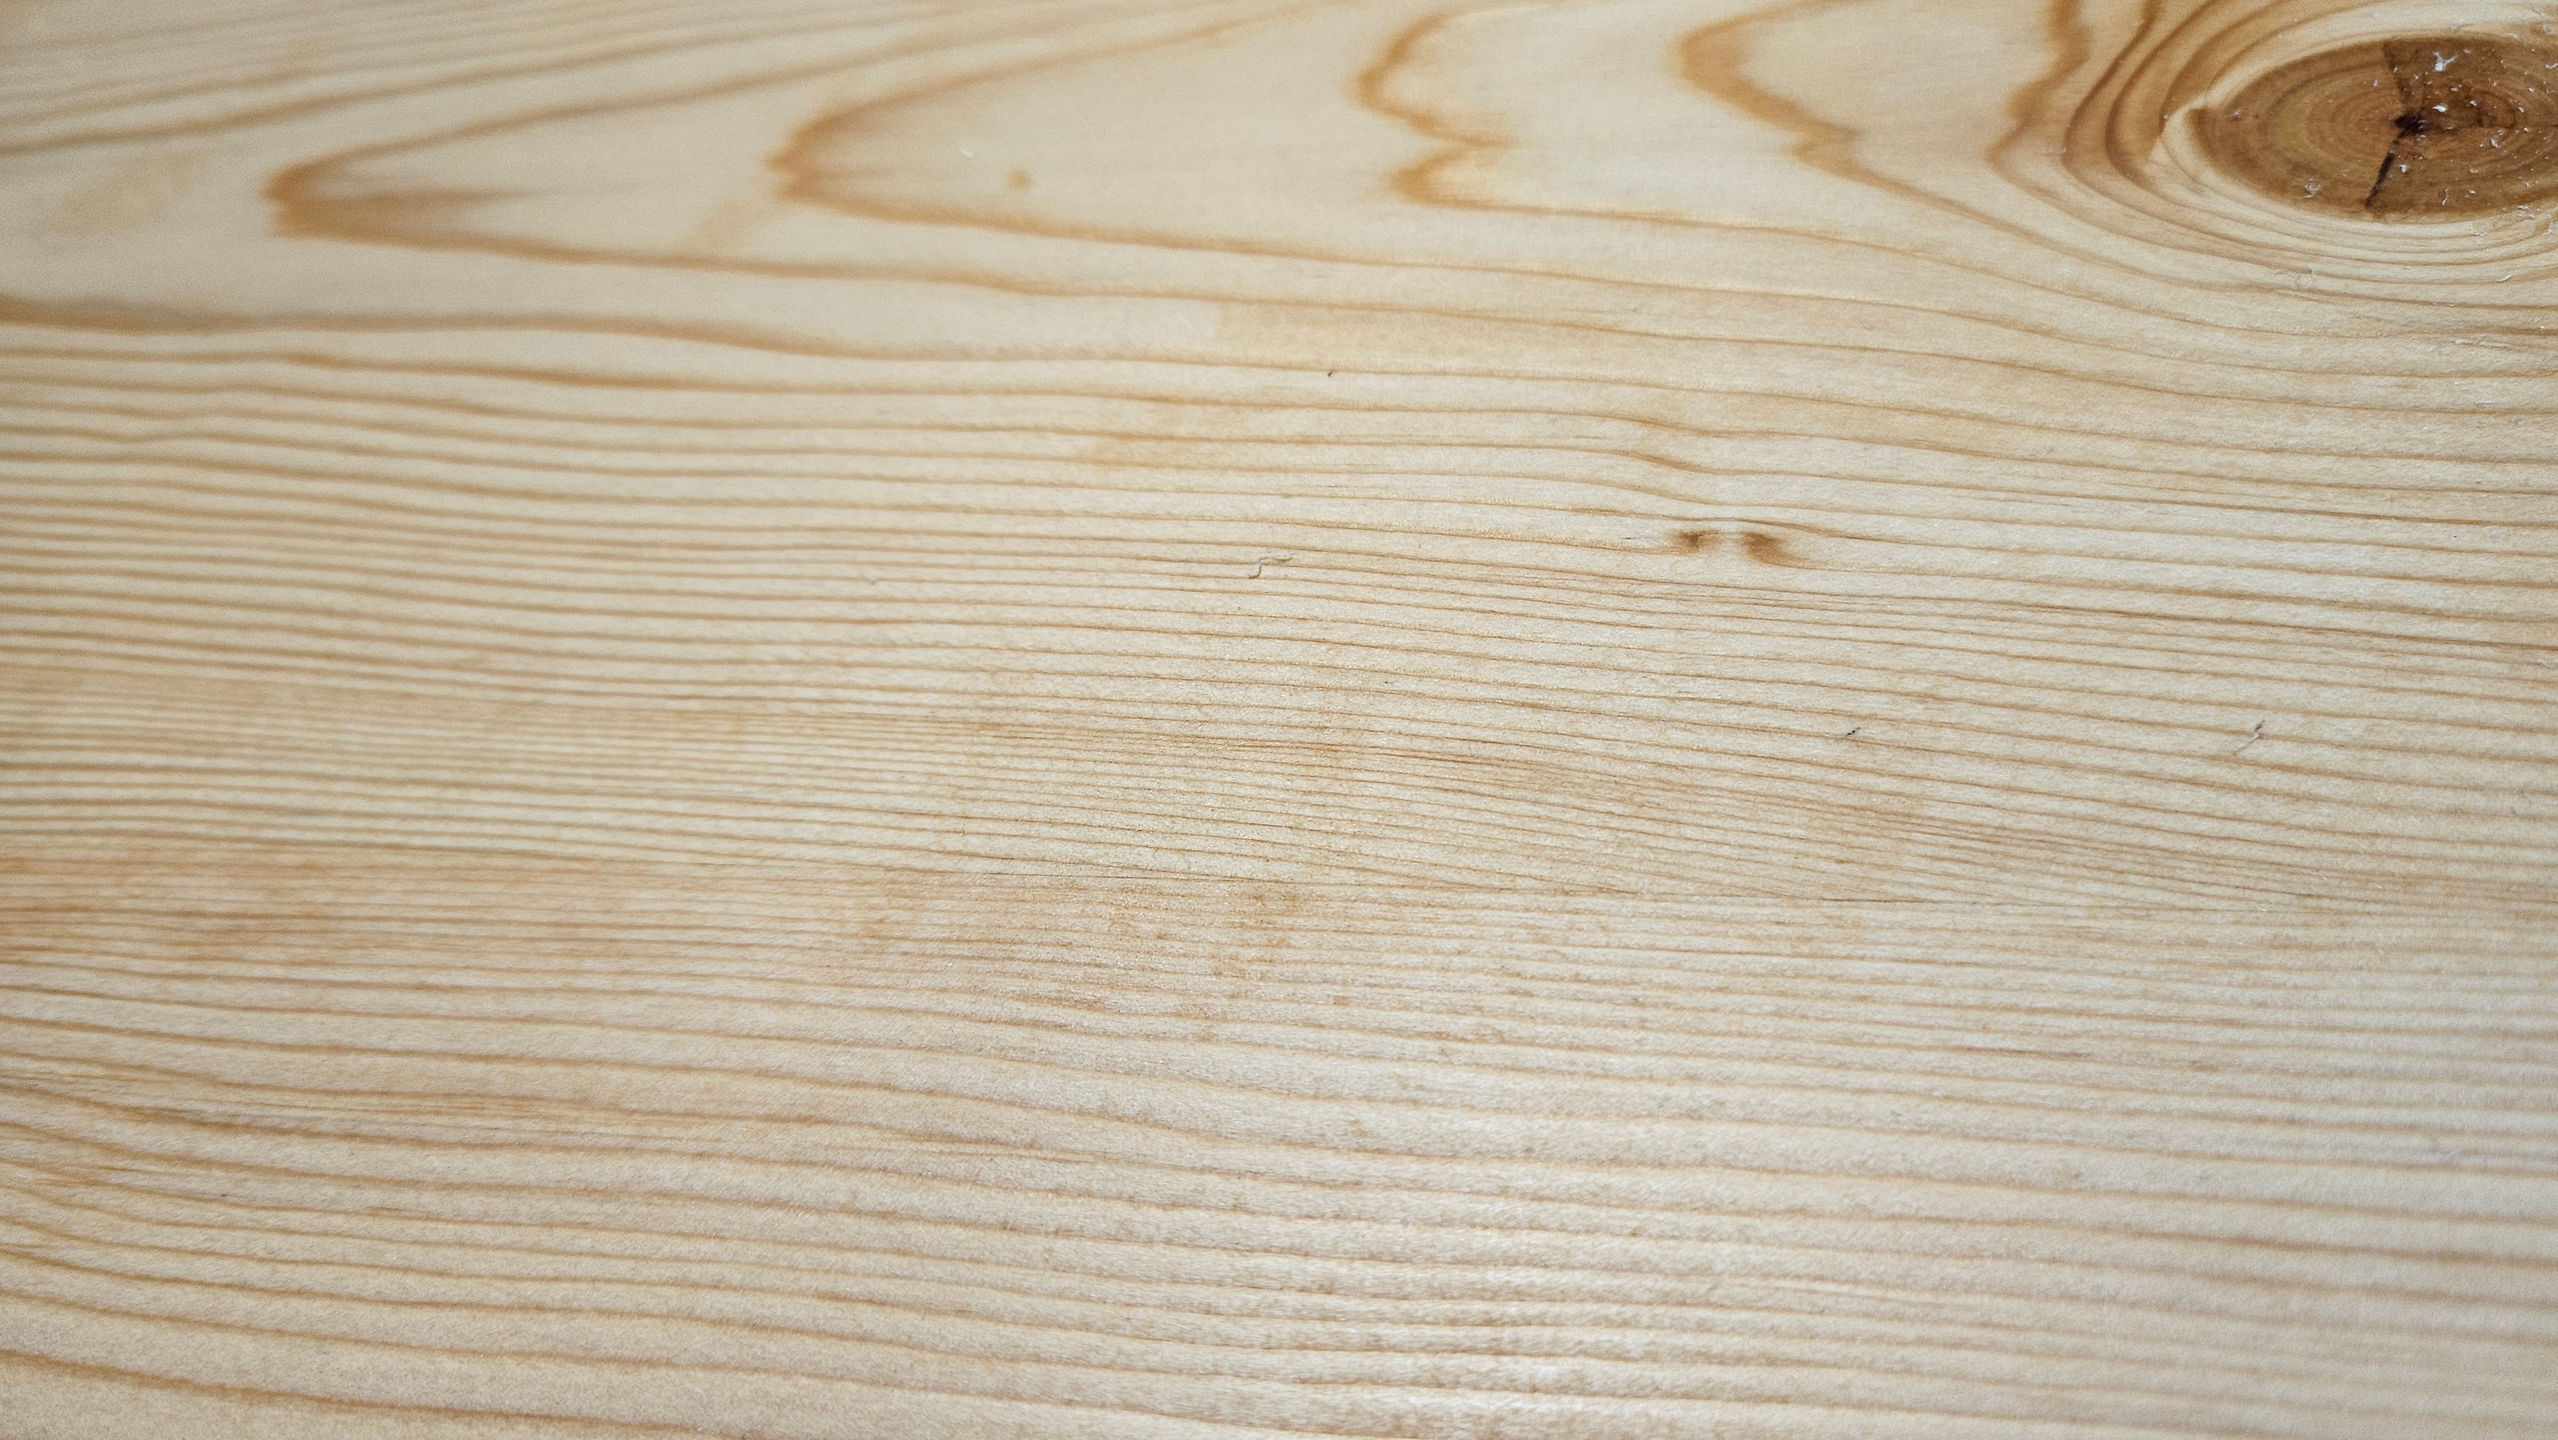
**Applied too much pressure while sanding in some spots**, this lead to some skid marks. This can be seen below, look for the crescent marks in the center of the board, doesn't show too easily in photos.
**Uh, whatever happened here was a mistake.** Just not sure exactly what, seems like either, something sat on this board before it was done drying, or sanding was very unevenly applied here, and some sections was sanded to a much higher degree.
So, to fix these mistakes I had to sand the boards down, starting at 80 grit to remove previously applied tung oil. Then,
1. **Sand** from 80 → 120 → 180 → 220 for all boards
2. **Apply** thin layer of 25% tung oil, 75% mineral spirits
3. **Wait** until layer is dry, sanding the board lightly with 600 doesn't clog the sand paper with oil
4. **Lightly hand sand** with mineral oil and 280 grit sand paper
5. **Wipe down** board with cloth soaked in mineral spirits
I've repeated steps 2–5 four times, each time increasing the percentage of Tung oil and sanding with a high grit each time. To decrease wait time in between layers of application, I've set up a small space heater in my garage to make sure the temperature doesn't drop below 50. I'll be waiting for these boards to cure (about a week) before following up with the rest of the steps!
I may have complained a lot, but checkout some sources that I greatly [[Appreciation|appreciate]], they helped a lot with understanding tung oil applications and sanding.