![[projects/pantry build log/Index]]
# Milestone 1: Building the shelves
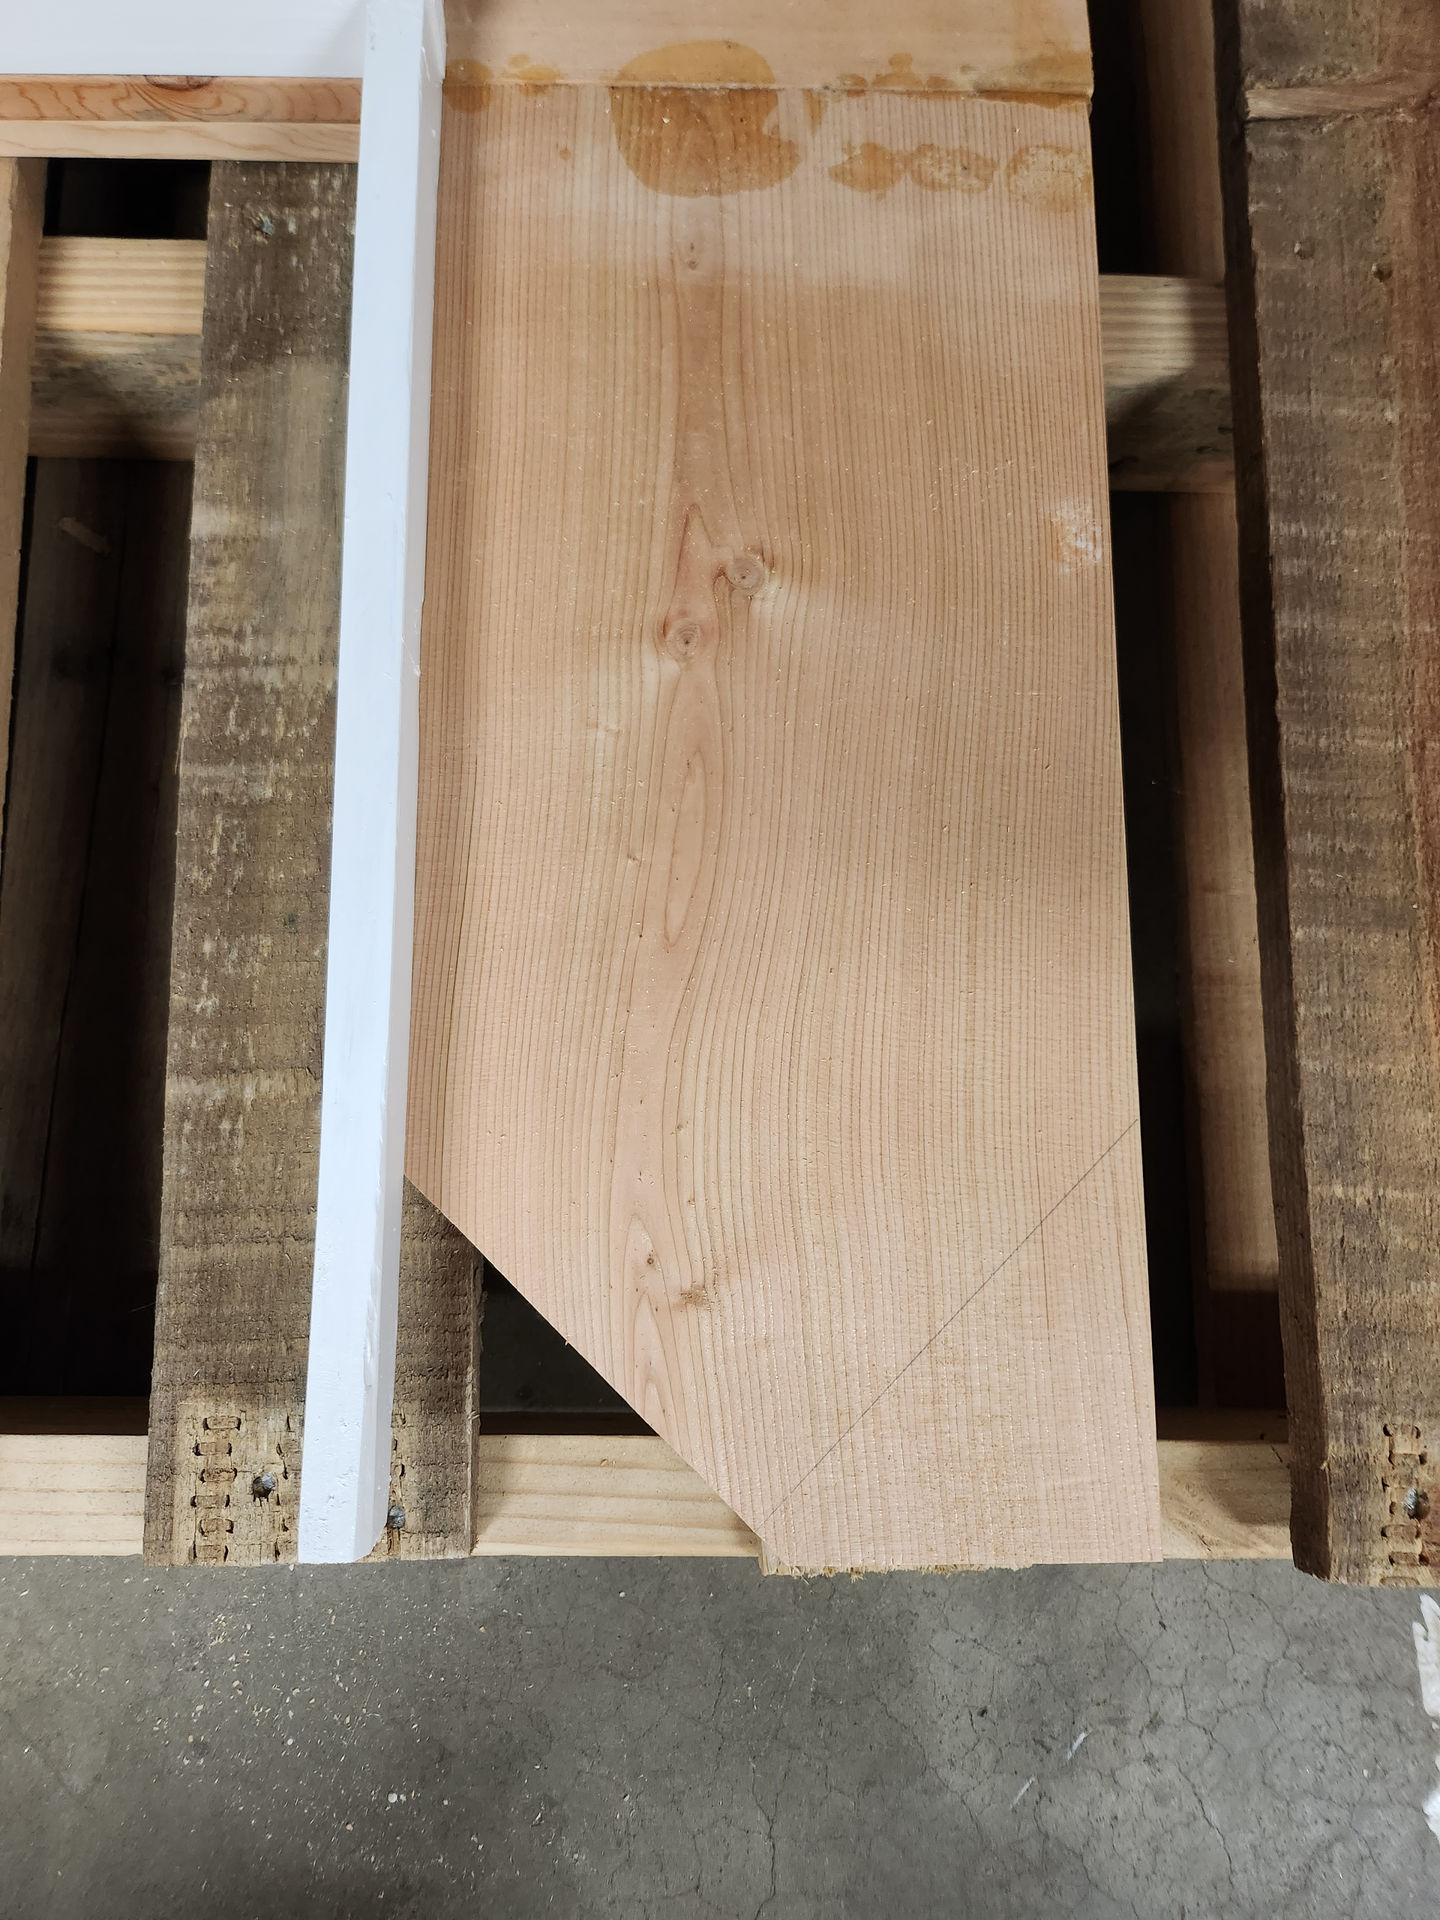
At this point, I had a circular saw and a guide, so I could cut straight-ish lines, not due to a faulty guide or anything, you see I'm so back with a circular saw that I was unintentionally work against the help the guide gives. But anyway, after multiple small cuts I was getting somewhere! I also test mounted these boards and found that the board edges seemed to poke out at you when standing in front, so I cut the corners off to provide a less dangerous/imposing look. Yes that excesses was trimmed off.
Here's what some edges will look like for example. Oh boy, I'll be covering this mess later when going over my mistakes, there I'll talk about joinery, wood glue and biscuits.
### Mounting the boards
With all that being said, here's where we ended up. The white trim in this image can be ignored, I was trying to work out the shelves would be mounted. Originally I had planned to make some simple wooden braces with trim to hide them, in fact I got pretty far with this plan until I decided it sucked.
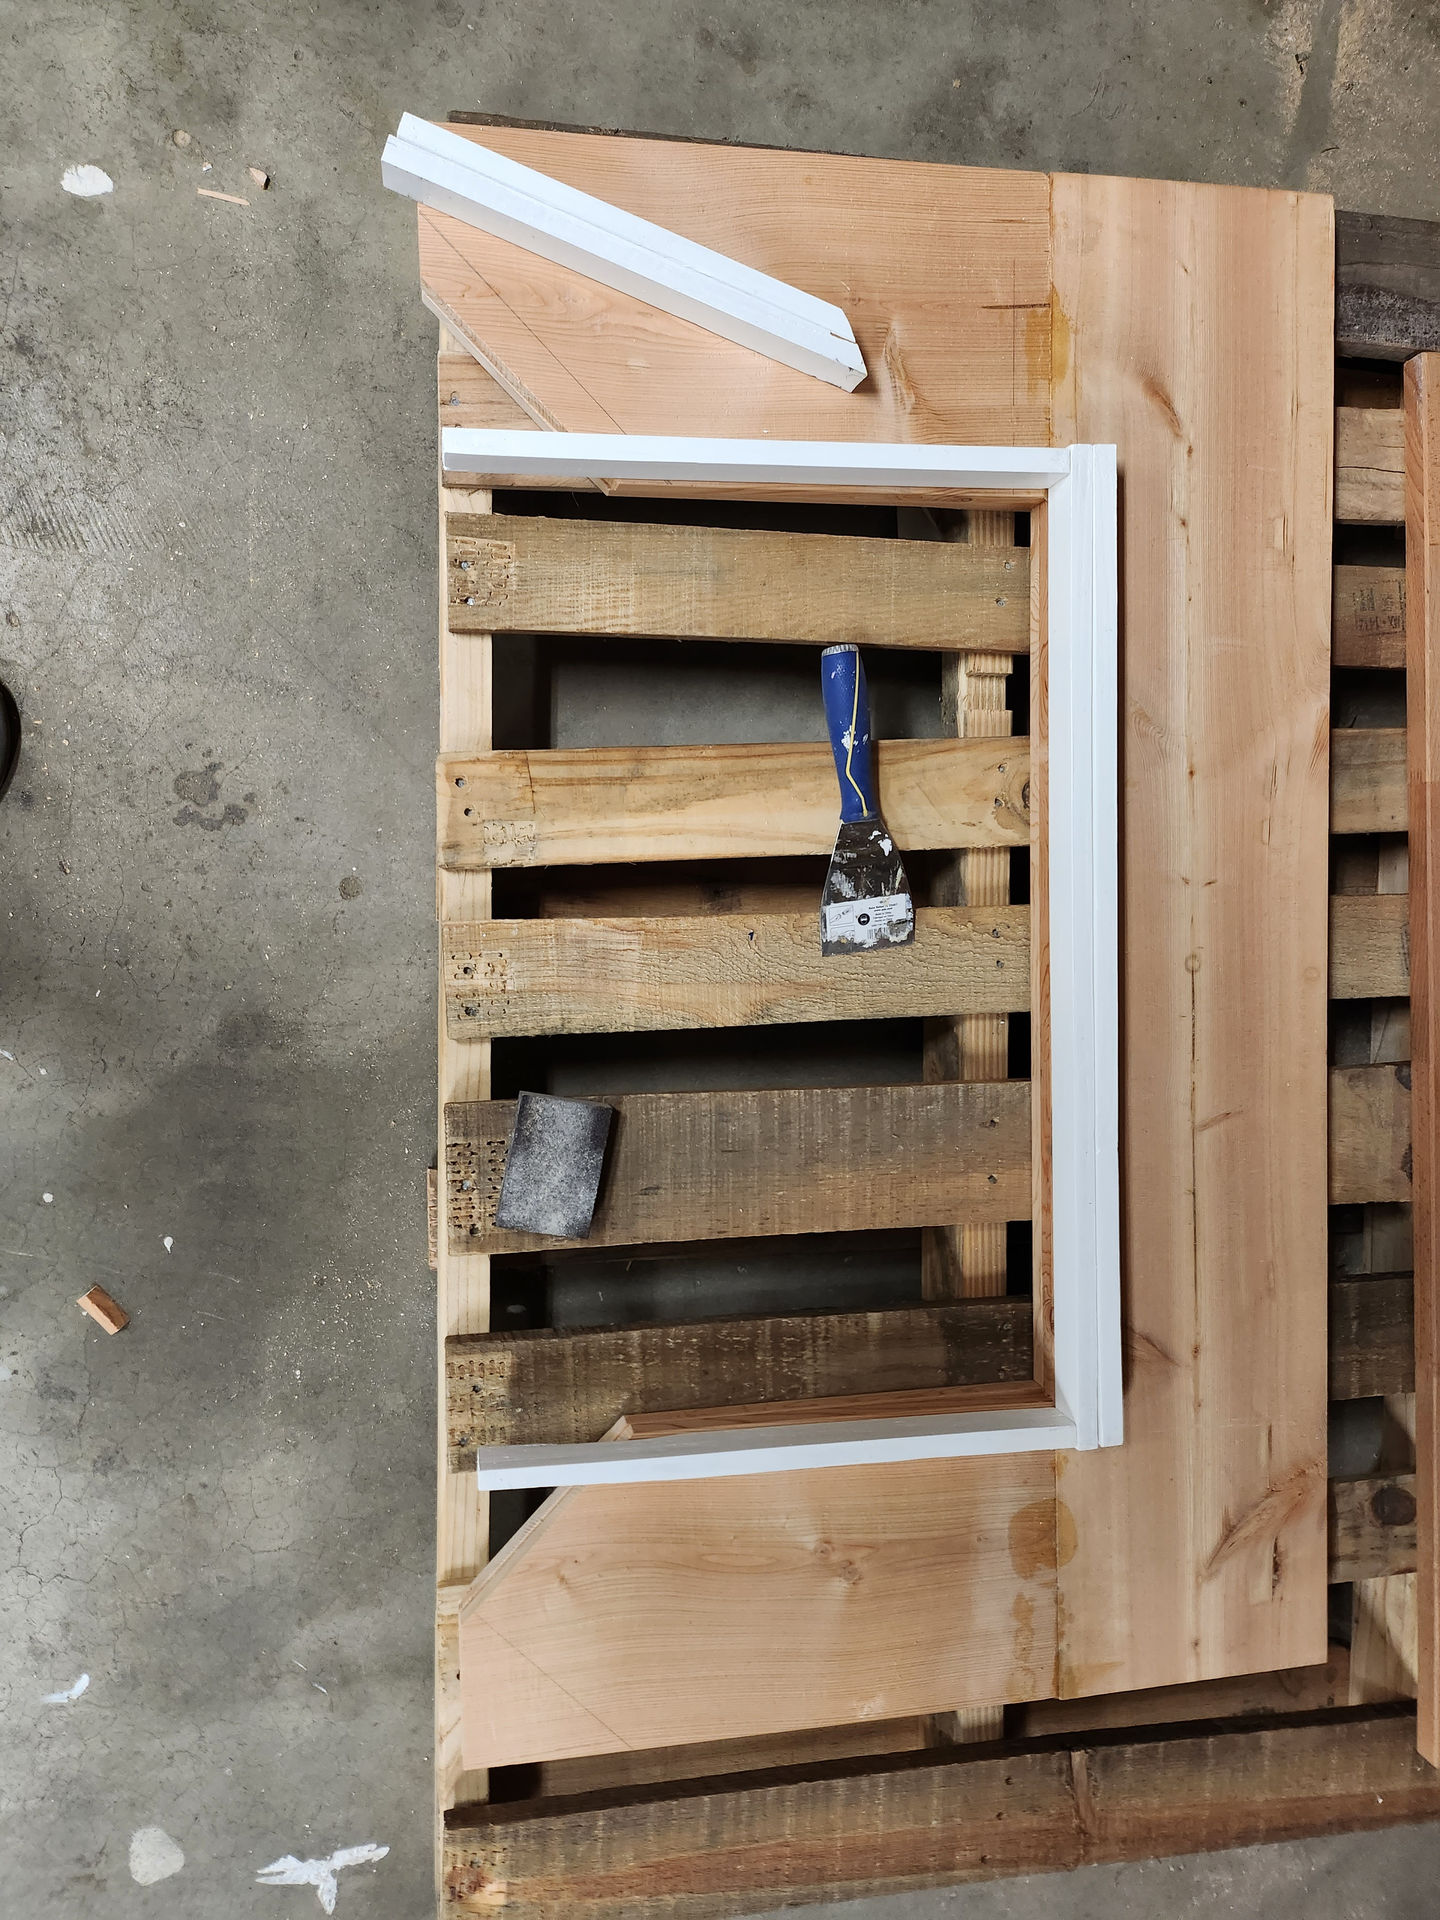
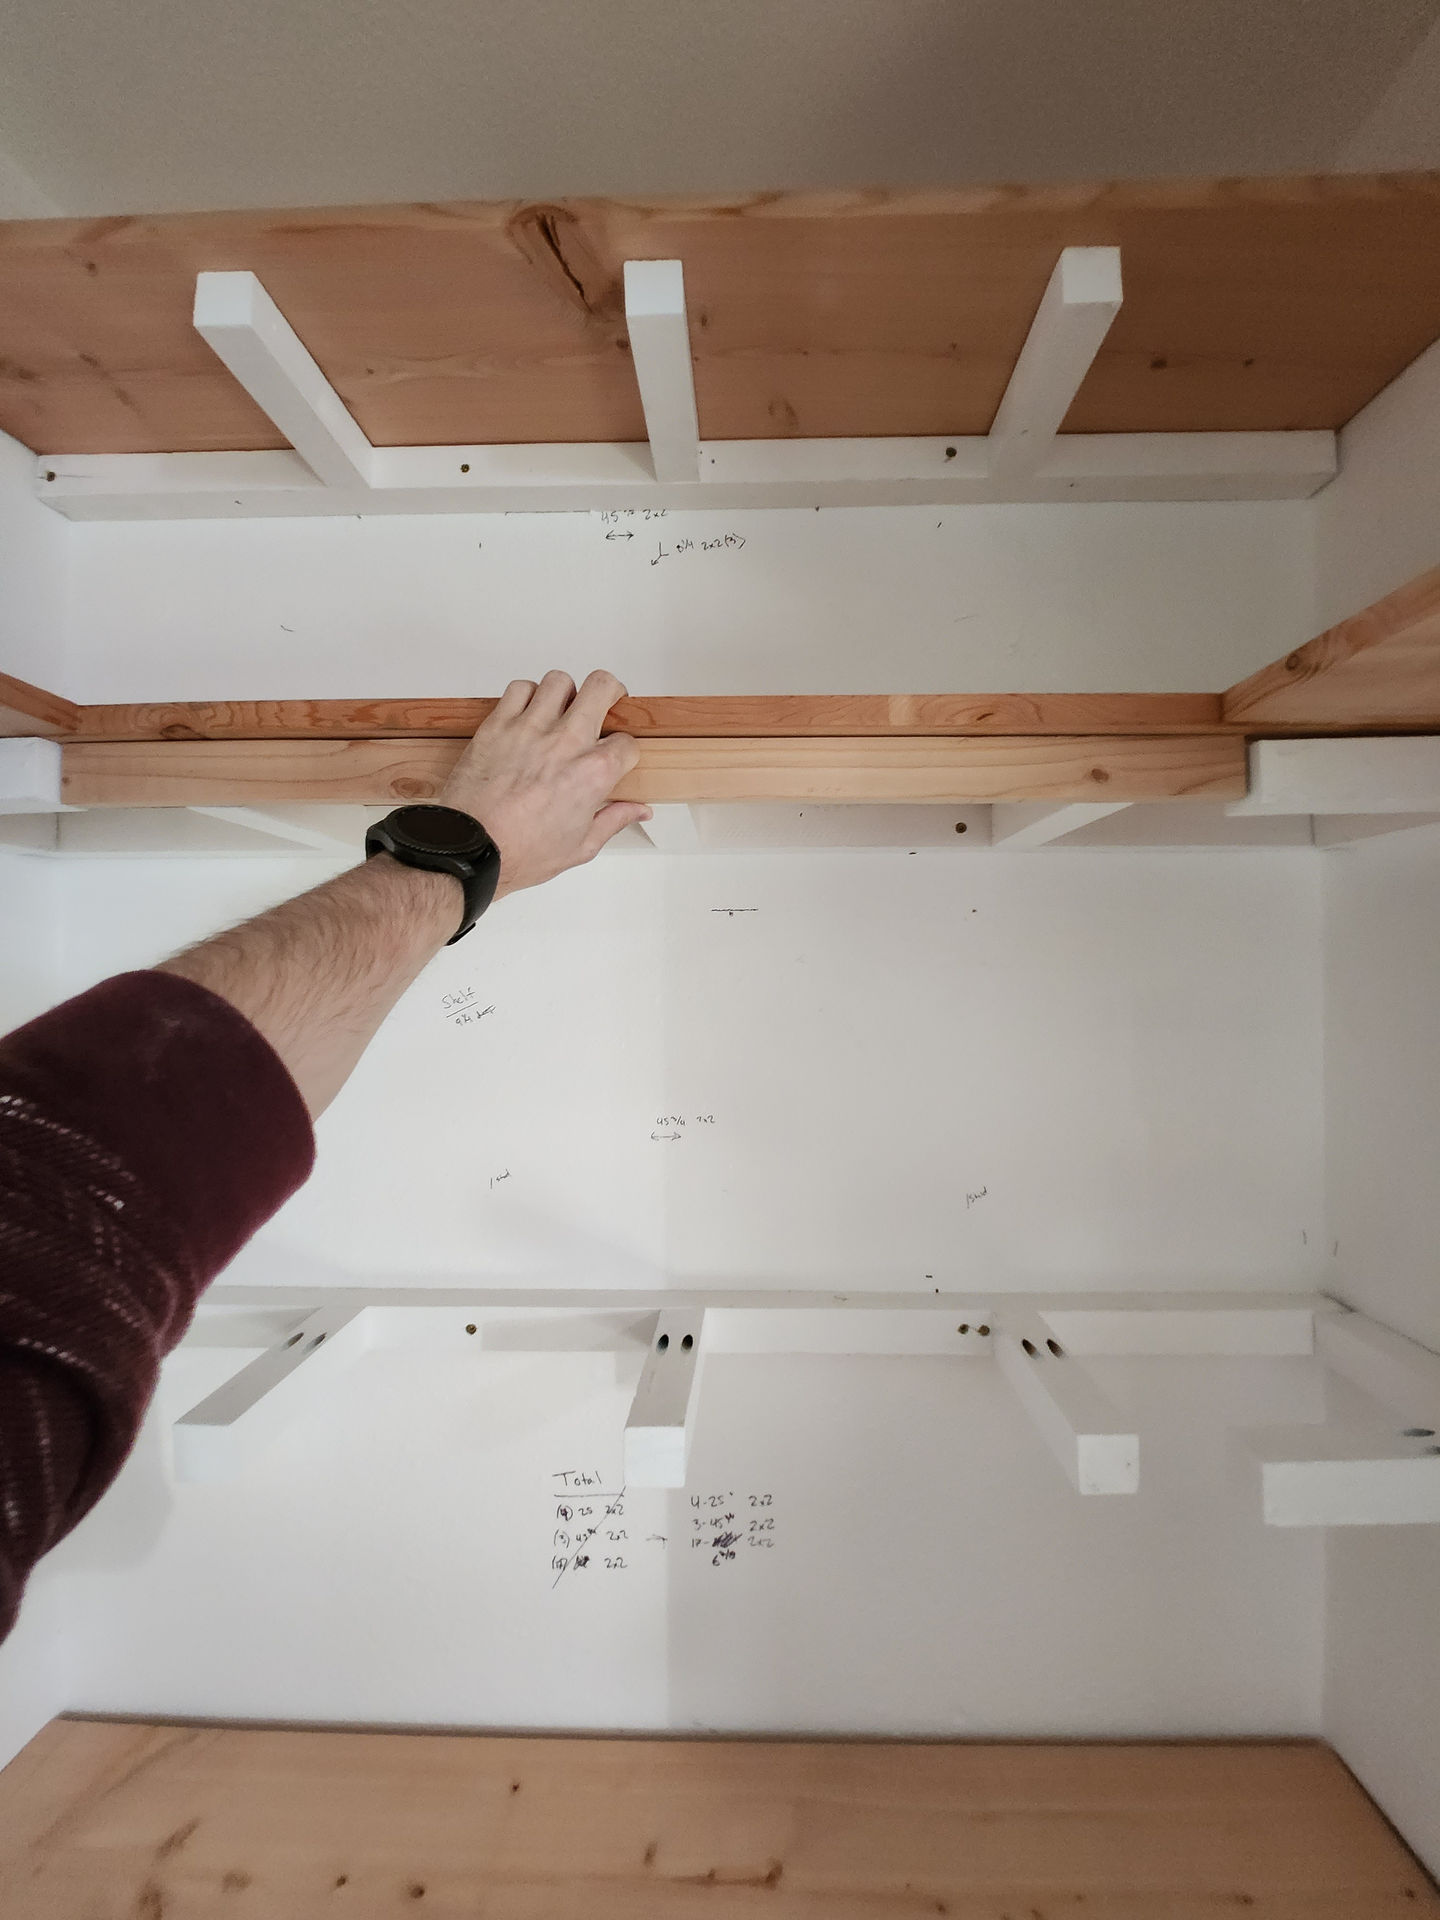
Here's what the first version looked like, I was taking this picture to get an idea of the color of trim to use. Yo, checkout that watch! So large, this must have been one of those times I thought “I should try wearing a smartwatch regularly” just to take it off weeks later, never wearing it again until eventually I repeat this thought, what a waste of mental effort and money. I think lots of people might be able to empathize with this, otherwise I think everyone would be wearing a watch.
Here's what it was going to look like at some point, but I found I didn't like doing all this math just to get tolerances that were 1/16 inch off which would end up showing. There were better ways to make this joint, and I tried a couple, but wasn't happy with any of them.
God, I hate the imperial system, fucking pirates really screwed us here. If you don't know what I'm talking about, basically the US was going to transition to the metric system in the late 1700s. Not before some overly ambitious, (likely) scurvy ridden pirates took over the ship that contained a French scientist and some standard kilogram weights. Because of this a couple of hundred years later, I find myself in my garage banging the last of my two brain cells together trying to add and subtract fractions on a spare pieces of wood, insane. Oh, and if anybody says “well, you can use the metric system in your own projects”. Have you taken a look at any US tool? All imperial, and then when you want to interact with other people, and you give them a metric value, they just stare and ask for the value in imperial. Hell, last time I tried using metrics system was when I went to a butcher, first and only time due to this encounter. I was trying to make a Beef Wellington, which ended up being a disaster and disappointing, I asked the guy behind the counter for something like 200 grams of beef tenderloin, this piece of shit grinned and said, “we don't do that here”. Bitch, I know your scale can change to a useful and accurate unit, like grams.
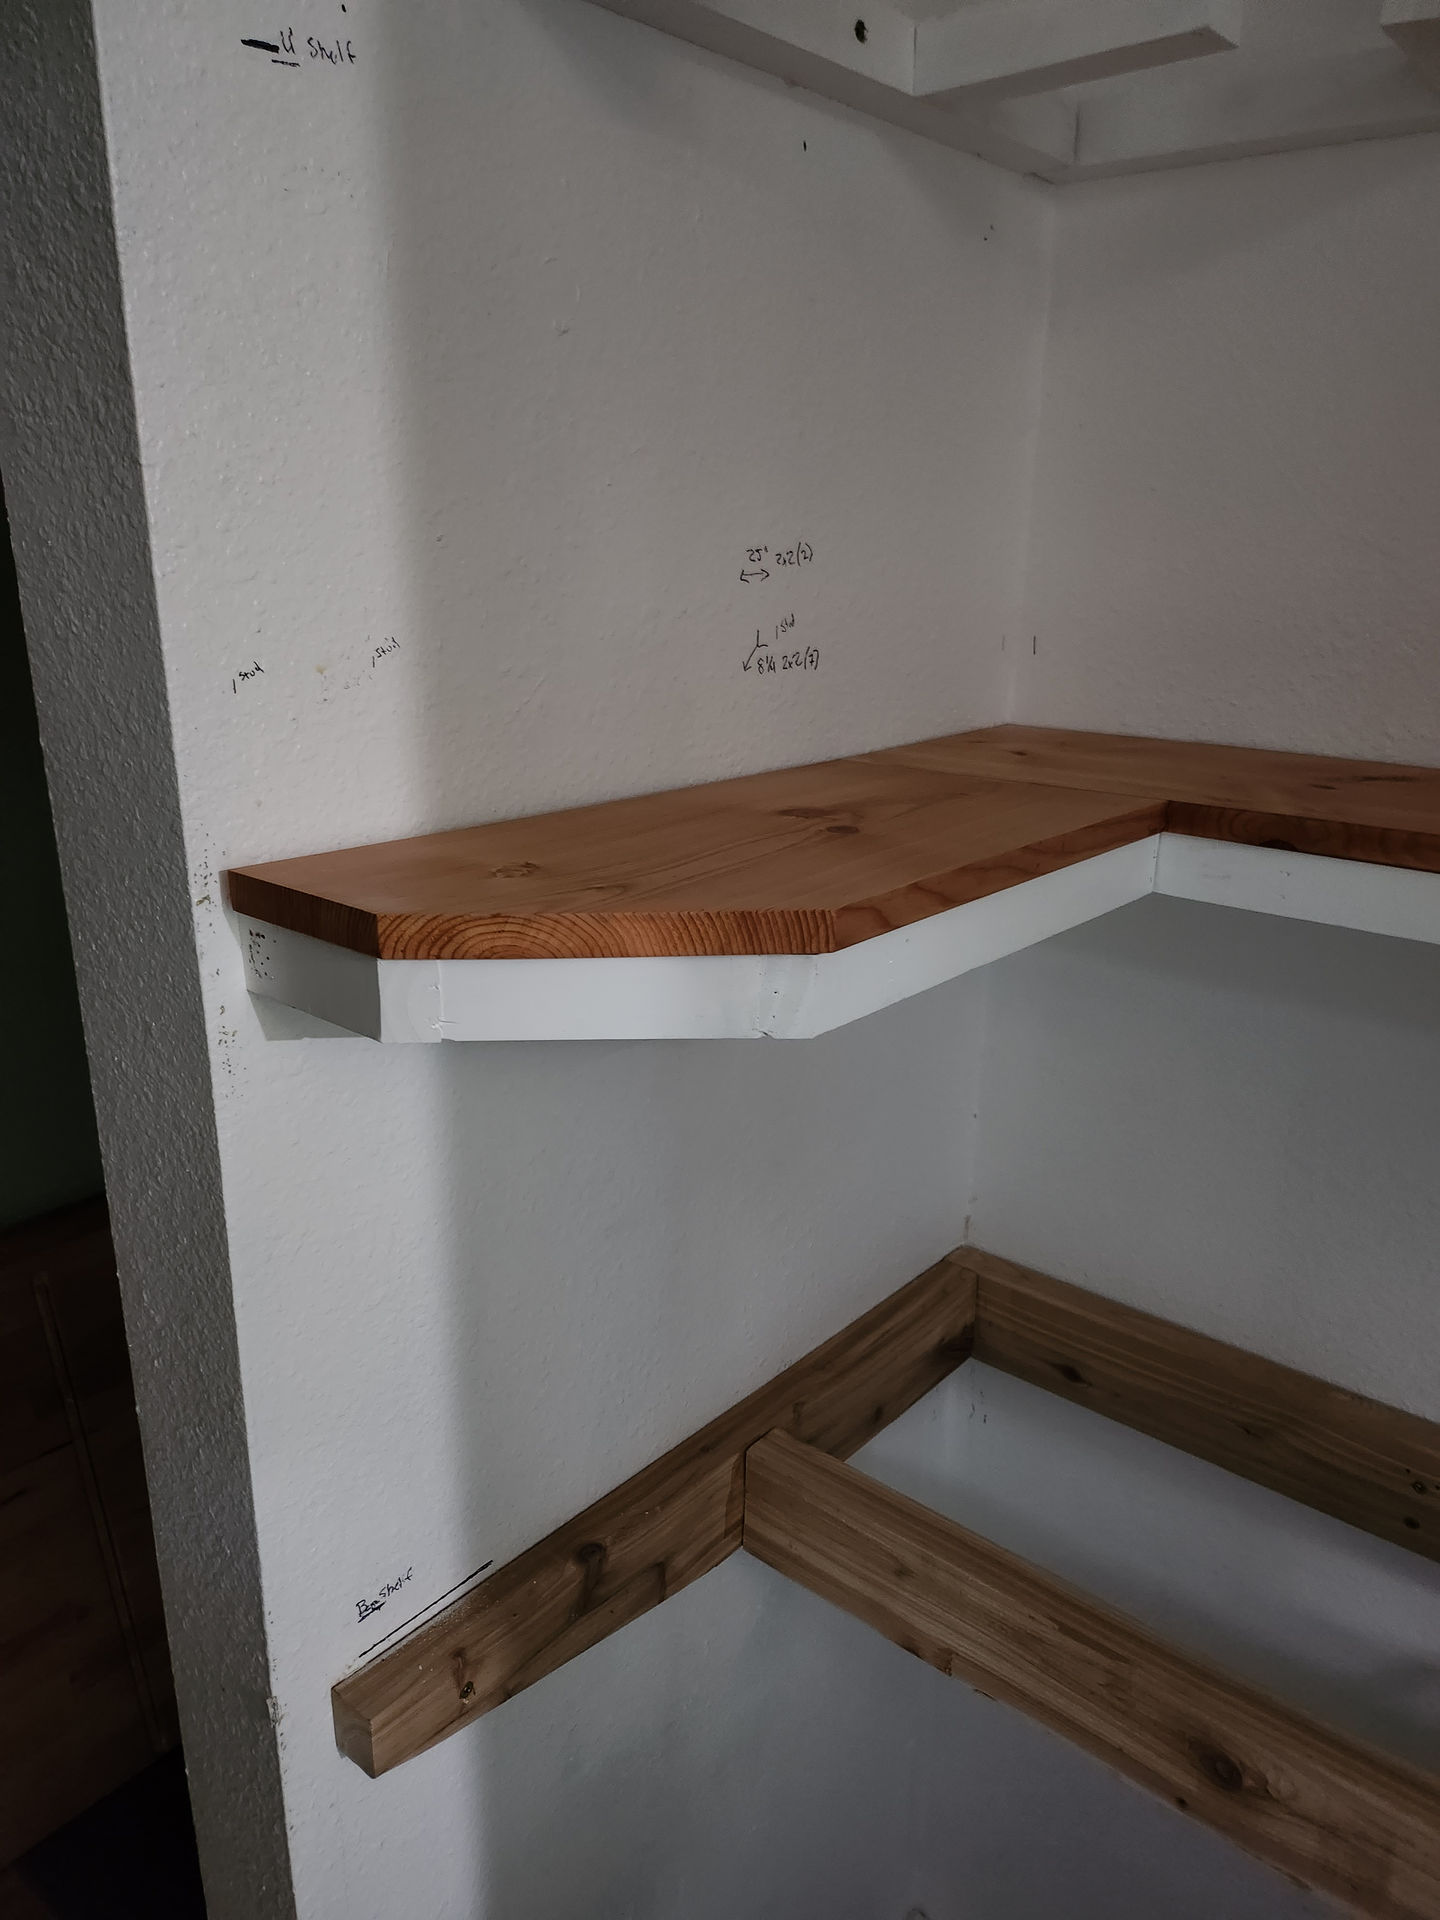
Here's the final result of Milestone 1!

### Mistakes
Most of my mistakes happened where the boards connect, now there is more than a couple of things I did here that I would do differently now, a year later.
**Not planing the edges flat** where boards will meet, this allows a better connection and a much easier time getting them not to move while gluing.
**Not routing down the board edges**, this is something I plan to correct later once the cabinet is in place. Pretty minor, but using a trim router to clean up board edges can make them look much cleaner and professional. Not a big deal, but would save me the pain of having to clean the shelves off. Would have been easier if I had done this before loading them up with stuff I'll never use, like four boxes of angel hair pasta noodles.
**Letting wood glue sit for too long** before cleaning it up, especially with fast acting glue best to work **fast** and use painters tape around glued areas. Doing so can make cleanup easier, just need to make sure you don't get any tap between the joints. Once the glue is set, the only way to remove it is, lots of heat, scrapping followed by some light sanding or planing a 1/16th off the board, which is only possible if it can fit in your planer. Really not fun, if possible, only learn this lesson once. Even sitting here now writing this, I'm not sure how much of the wood glue I got off… I'm afraid to look.
**Made a biscuit cut on the wrong end**. You can see in this the last image for this section, the bottom U shelf on the left side, there is a chunk missing in the middle of the board from a biscuit cut. I don't really remember how I managed to do this, probably just a forgetful moment when reposition a board, dunno. I plan to either, fill this in, or make it into a feature… somehow.
**Using a biscuit joiner**, this is definitely a personal opinion. I'm finding that woodworking is more about creating personal opinions about the “best” ways to do things rather than there being the best way, like… well I'll talk about that later when I go over finishes. For those that don't know what a biscuit joiner is, which I don't doubt it most people, a biscuit joiner is a tool that cuts half ovals in boards with varying size and depth. The wood ovals are the biscuits, the tool that makes the half biscuit shaped holes is the joiner. Simple, no?
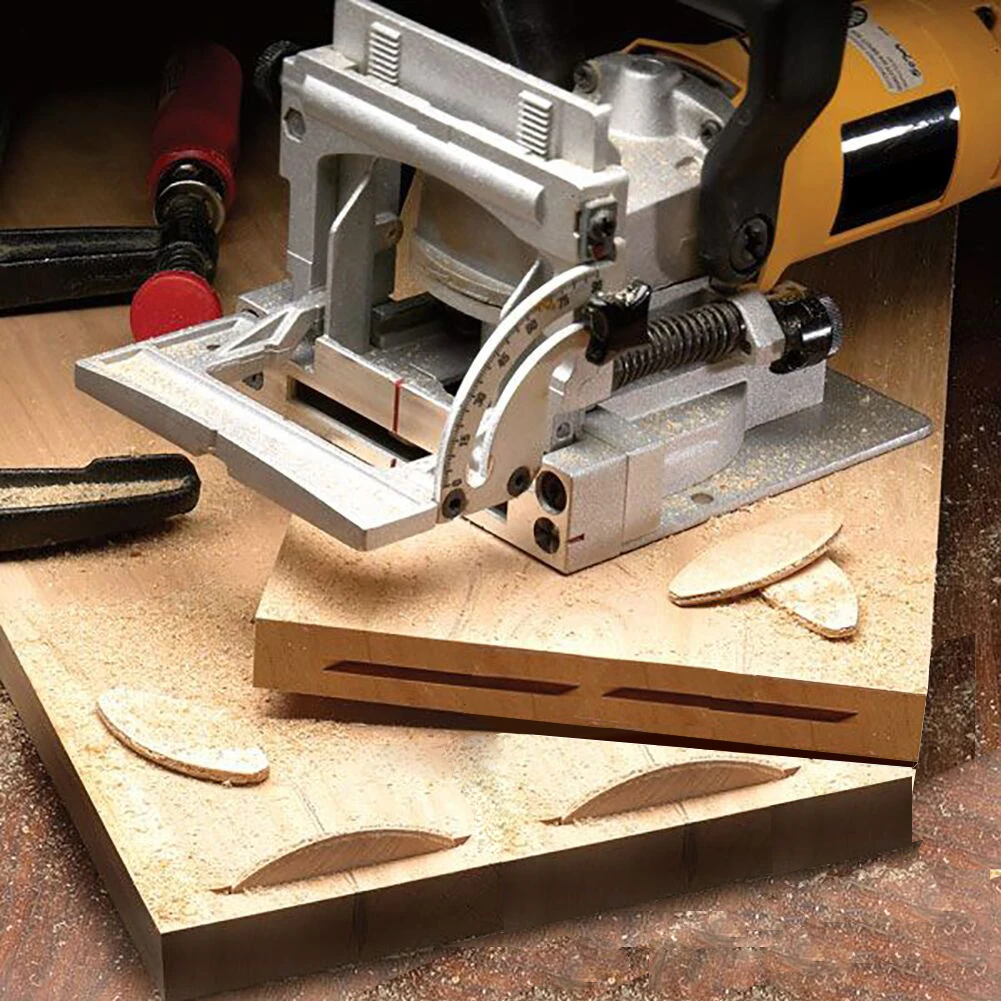
The idea is that you create multiple of these half ovals along the plane of the board you'd like to connect, then mirror these on the other board. Once done you take these biscuits, lather them up with wood glue and insert them in the holes, add more wood glue along both planes then clamp them together. If you do this correctly, and your device is calibrated ***perfectly*** you should find that your connected boards are aligned with no gaps and no height disparity. Well, the cheap-o tool I got was not very accurate, either from shotty build or user error. I found the holes it cut varied in depth and size with no changes to the guard, causing boards to shift when clamped. What a pain. This resulted in boards being slightly off height wise, but at this point of the project it didn't have much of an impact besides feeling a bump if were to touch the connections. So biggy so far, it was barely noticeable and at the time was just a small disappointment.
What I would have done now, is use a simple [tongue and groove joint](https://kagi.com/proxy/9ee328d8-eba3-44de-a7a3-a18c4d6c9ebe.jpg?c=-NOXSJKb7rAd5i1GPcUi3fPxYVLlIlgmDW3o5QfL45ukz287PRBiCZNNhBlFHRfoj7x0w3o9IKOCn1B0E8_RwV9J4sRLDpCYsHzmBEBdoksSDoKBDiNkAXlZtzaWGIn5g7SorPMQ92Euk6NVbFvjcWQ_TqhcuuWb9GHW_2Qh6qE%3D), or a [finger jointer](https://kagi.com/proxy/MAKLE-Woodworking-Router-Bit-8mm-Shank-Finger-Joint-Glue-Milling-Cutter-For-Wood-Tenon-Woodwork-Cone.jpg?c=D7u0yXs99oGy9xkm-57YO96AQC9enz1dpK8tpWLw1Wc3KgVrxLAKuxqJ7PifL2TuIiclP4x70aTDF3ZuqAMeI9AYR2TqczCgTGzm1_y8gOyzRszyD5uOKV8vJ8GoA72tP3NDVpTAAh1Tpuf7y-Th2gV0IlyBNLBAjZ9cVgD4OWsu-i0D_NBckVsxqA9xc9MjBPS-meL83AU5MD1qfiBa8xzRXfvongFmgDMjS9moBt0-gCQfKkWg5GMShvPB7mU6). I would favor the tongue and groove joint after testing both of these out on my table router with some scrap wood. I found that the tongue and groove router bit was much easier to manage and align where the finger joint was much less forgiving, plus nothing I was doing here actually needs the strength of a finger joint.
Okay, so what's next?
Well, an astute eye will have seen in the last image that the boards changed colors! Wow. Time to talk about finishes, oh boy, and do people have a lot to say about this.
### Finishes
Okay, so Finishes are, as far as I can tell, are the most decisive and opinionated area of woodworking. First, there are so many types of finishes, each one has its pros and cons which range from, dry time, color, toxicity levels, sun resistance, durability, shine, texture… I think ya get the picture. Deciding on which finish you want can be based on what the final look you'd like to achieve, and the environment of which the piece will live in. You can also combine finishes as well, as long as they are compatible with each other.
The main camps of finishes are, feel free skip over this list, I certainly do when rereading this section.
**Wood dye**
Combination of a solvent and colorant, can be used to dye wood, not much more to say.
**Wood stain**
Dangerous, but powerful. When used correctly, you can mix stains and color correctly to enhance the look of your wood, but you can also destroy it by hiding the look of the grains.
**Oils**
Lots of choices of oils here, Danish Oil, Tung Oil, Shellac for example. These can be rubbed or soaked into the wood, these are food safe and can be used to enhance the look of the wood.
**Varnish**
Oil based but typically carries some additional synthetics. Varnish is used to give your wood a different type of sheen, transparent to satin or glossy. Additionally, it gives the wood a higher level of durability and toughness by apply multiple thin layers over time.
**Oil-Varnish Blends**
Same as Varnish, but is easy to apply. Draw back is that you don't really know what the additives that have been blended, there is the chance that these additives could possibly have unknown effects. Best to test in small areas.
**Wax**
Temporary finish, comes in different textures, colors, etc. Usually used to enhance the look of objects that won't be handled often and provide them with a small layer of protection.
**Wood Preserver**
Exterior wood projects, don't know much about them.
#### What did I choose?
To help decide I took a class at the [ReBuilding Center](https://www.rebuildingcenter.org/) in Portland on all the different types of finishes. There was lots of information fire-housed at me, so I probably retained about 40% of it if I'm lucky, but one of the big thing that stuck out to me was using Tung Oil would be food safe and enhance the look of the wood. So Tung Oil it is. Okay, so now that I've selected this finish, how do I apply it?
So here's where everything goes to shit. For the shelves, I did what the manufacture suggested doing which happened to align with what I remember from the finish lecture. Soak the board in oil by creating a little puddle and spread it out from end to end, making sure to use long even strokes. Then, after letting it sit for a couple of hours, wipe of the excess that didn't set in. Okay, so a day or two of letting it dry and soaking off the excess oil that leaked out of the board, I thought it looked pretty good!
#### Mistakes
**Trusted the manufacture implicitly**, in lots of cases, you should trust their instructions, but not blindly. Soaking the board, especially with a single layer in Tung oil is not going to get you the brilliant end results like you would with multiple thin layers. You'd also save lots of money in Tung Oil, that stuff is pricey.
**Not allowing the boards to cure**, or at least dry before placing them in use. Tung oil is tricky, dry time depends on many factors, the grain, grit level board has been sanded to, amount of oil used, temperature and humidity, and finally, wildly enough, what's actually in your bottle of “Tung Oil”. Much like our vitamin industry[^1], Tung Oil can say “Pure Tung Oil”, without actually being pure Tung Oil. So, best to check the side of your bottle, and then double-check the consistence. Lots of manufactures will sell Tung Oil with additional solvents that increase penetration and shorten dry time. Not bad things to have, but if you have pure Tung Oil you can combine it with your own solvents allowing you to control each applied layer. Okay, so dry time might take, half a day to 4+ days, even up to 7. It may even never cure if temperatures are never above 50F, this makes Tung Oil unusable in colder climates. One tip I could find that helps indicate whether it was dry or not was to sand lightly with 600 grit sandpaper, if it doesn't clog with oil, all good. Once dry, the oil will take up to a week more to harden properly, before this it must be handled lightly.
To see a total mess, checkout [[3. Cabinet|my work on the cabinet]]