![[projects/30 key keyboard/Index|Index]]
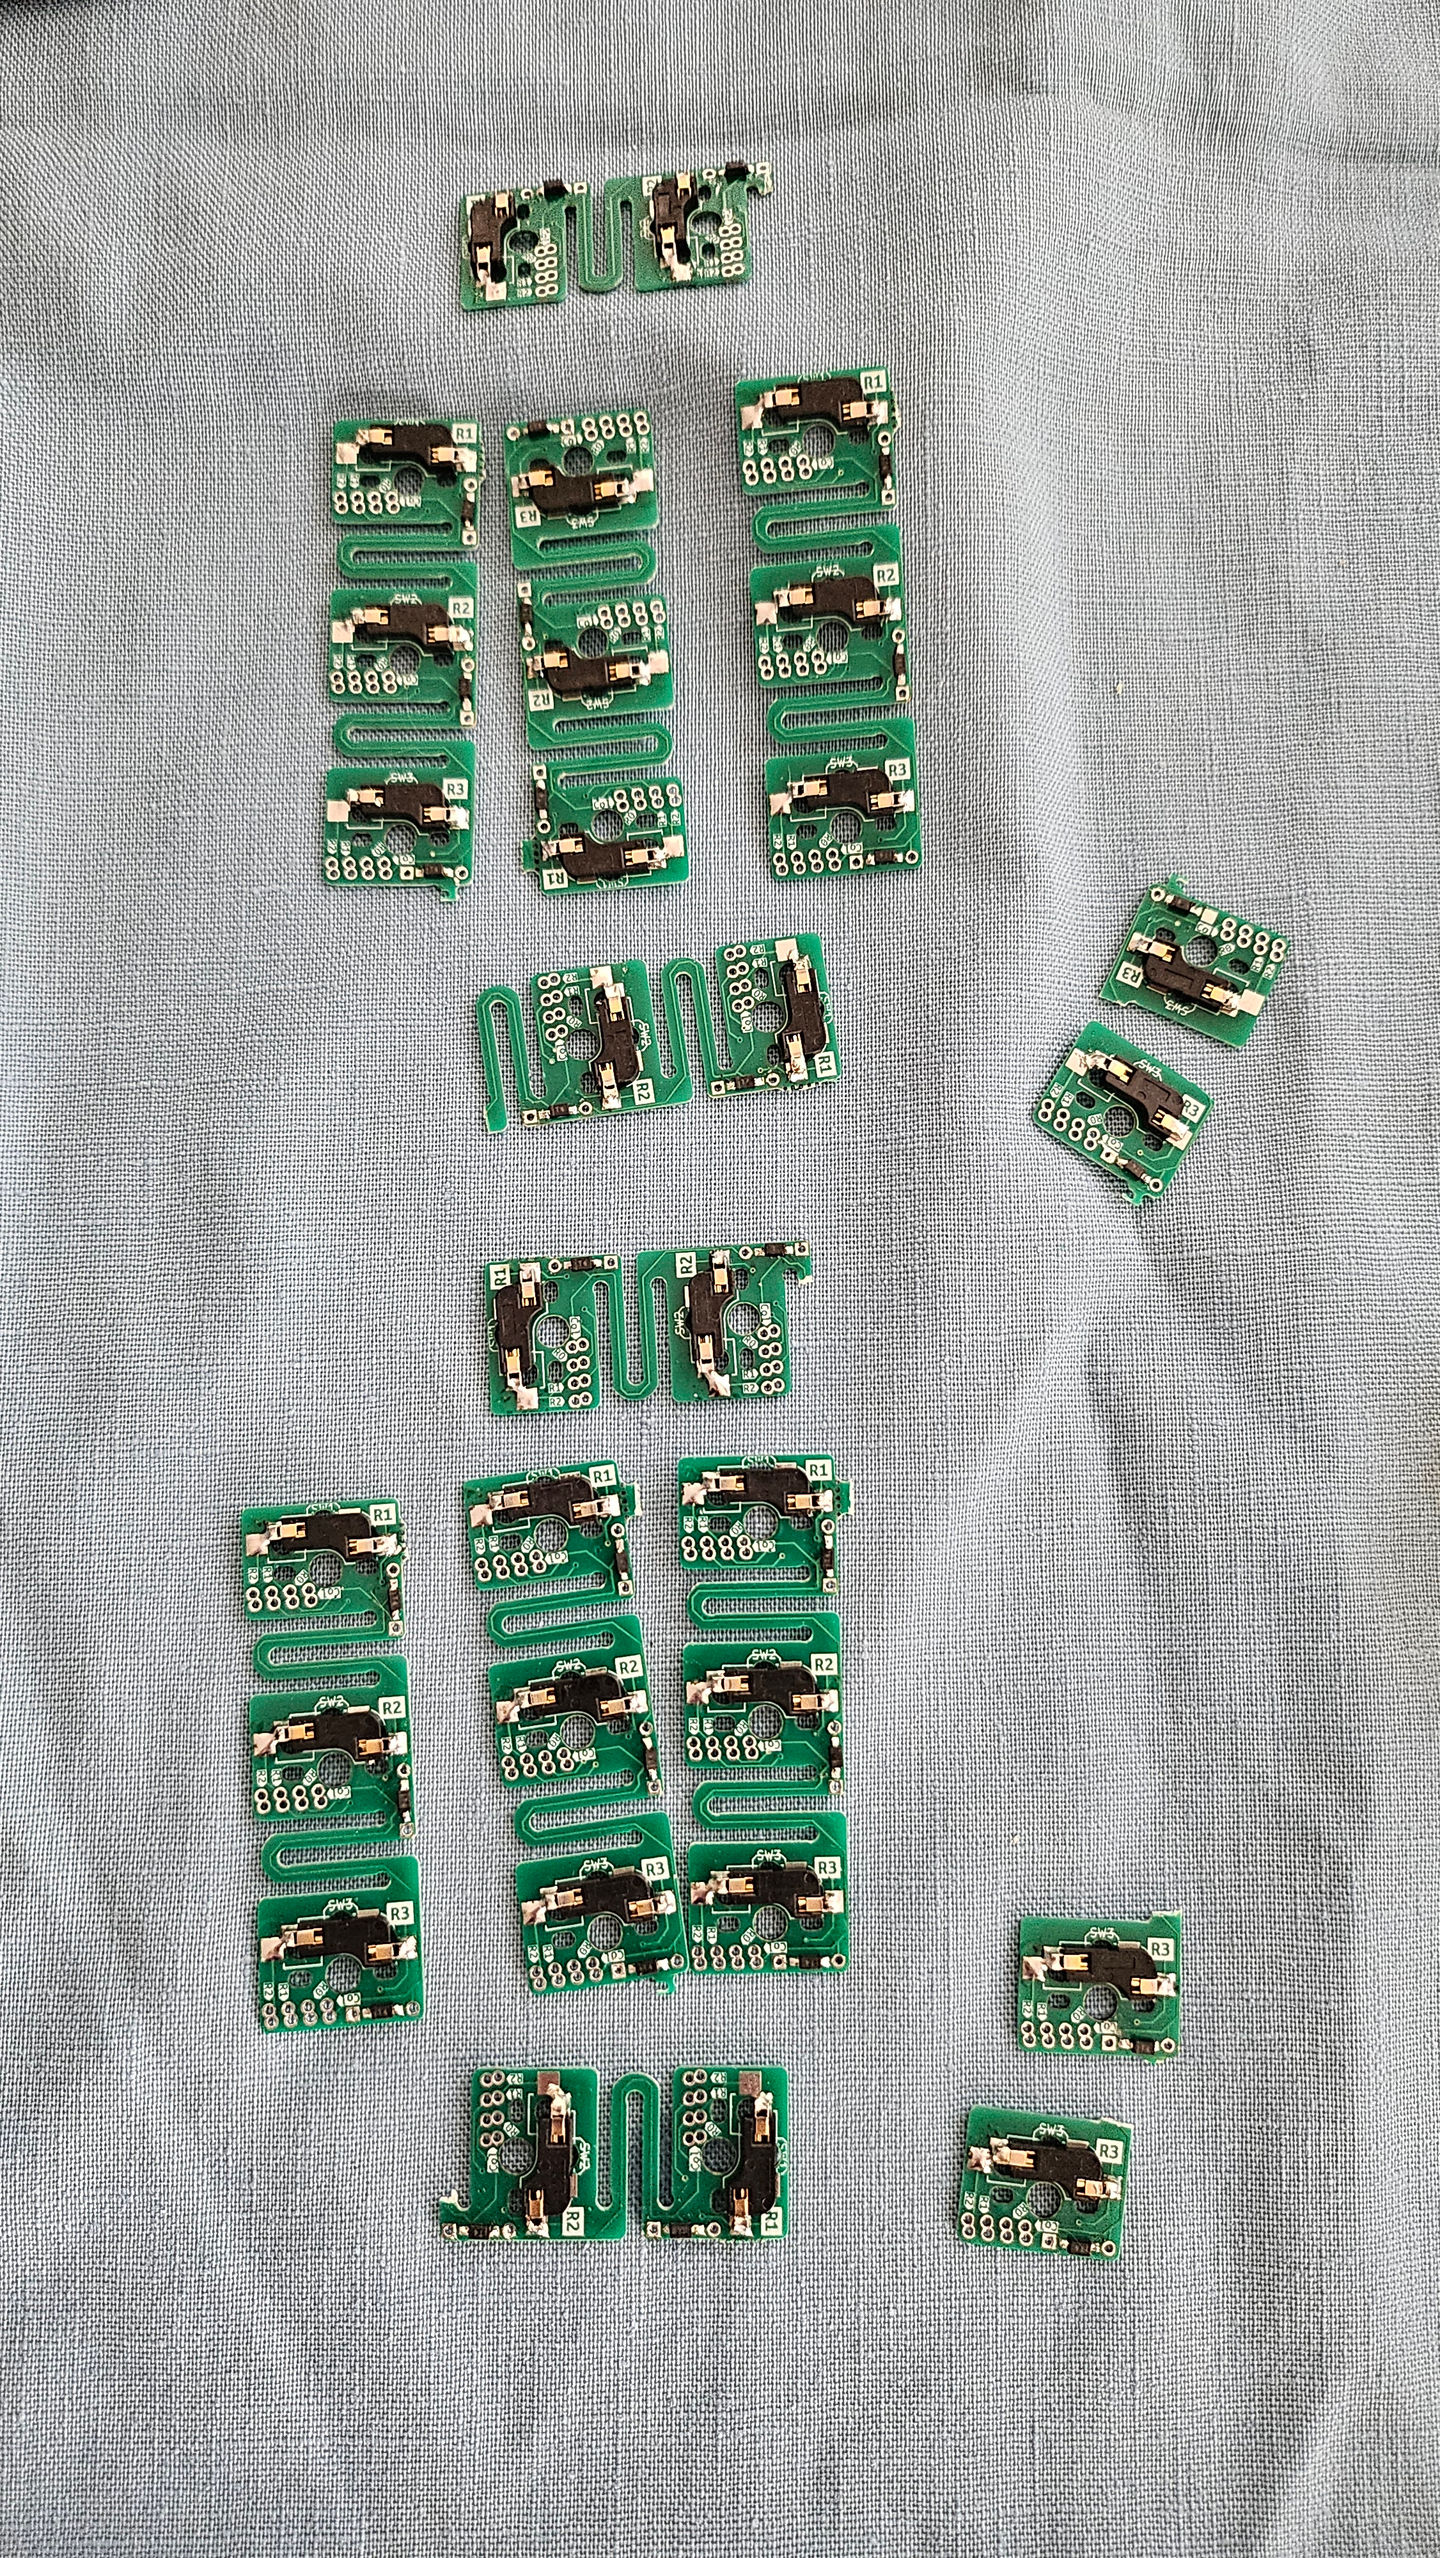
First step, soldering diodes and switches to all the flex PCB's. Soldering the hot swappable sockets was the easy part, the diodes where very small and needed to be soldered the right direction, so a magnify glass with some helping hands is a great tool to have. Otherwise, matching the direction line one the diode with the board can be very difficult. Overall, for my first time soldering since building a coil gun more than a decade ago, I was pretty happy with how these turned out.
Next, soldering switches and pins to MCU to board.
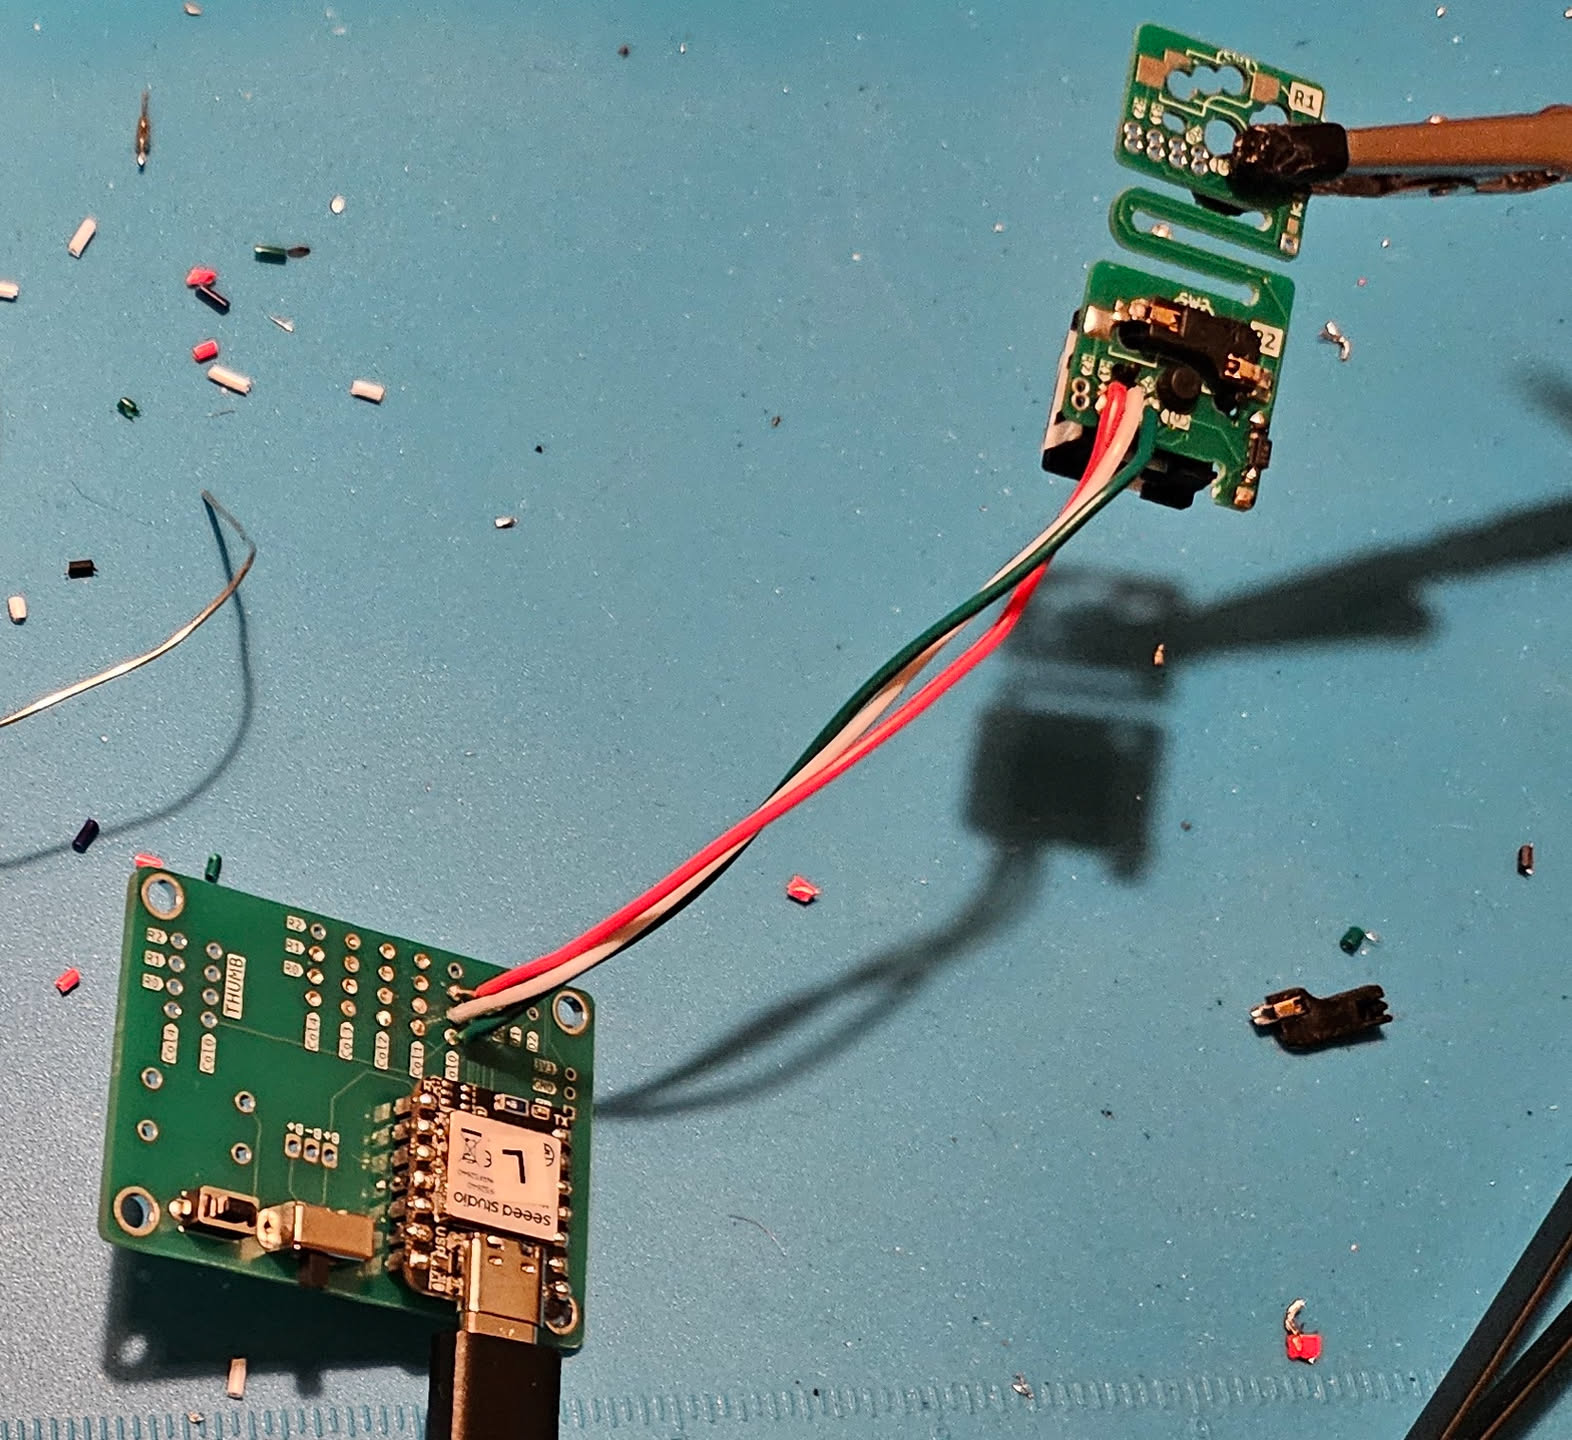
Here, I've soldered the reset button and power switch along with soldering the xiao device (MCU) directly to the board, this I regret. I made more than a couple mistakes when trying to solder the pogo pin to the main board, and removing the MCU once placed without damage, is very difficult.
The right side, I decided to solder sockets to the board then pins to the MCU so it can be removed easily. I also forwent with the pogo pins, instead just soldering a wire between the board and MCU.
[[3. Printing|Soldering done, on to printing the case!]]