![[projects/pantry build log/Index]]
# Milestone 3: Oh no…
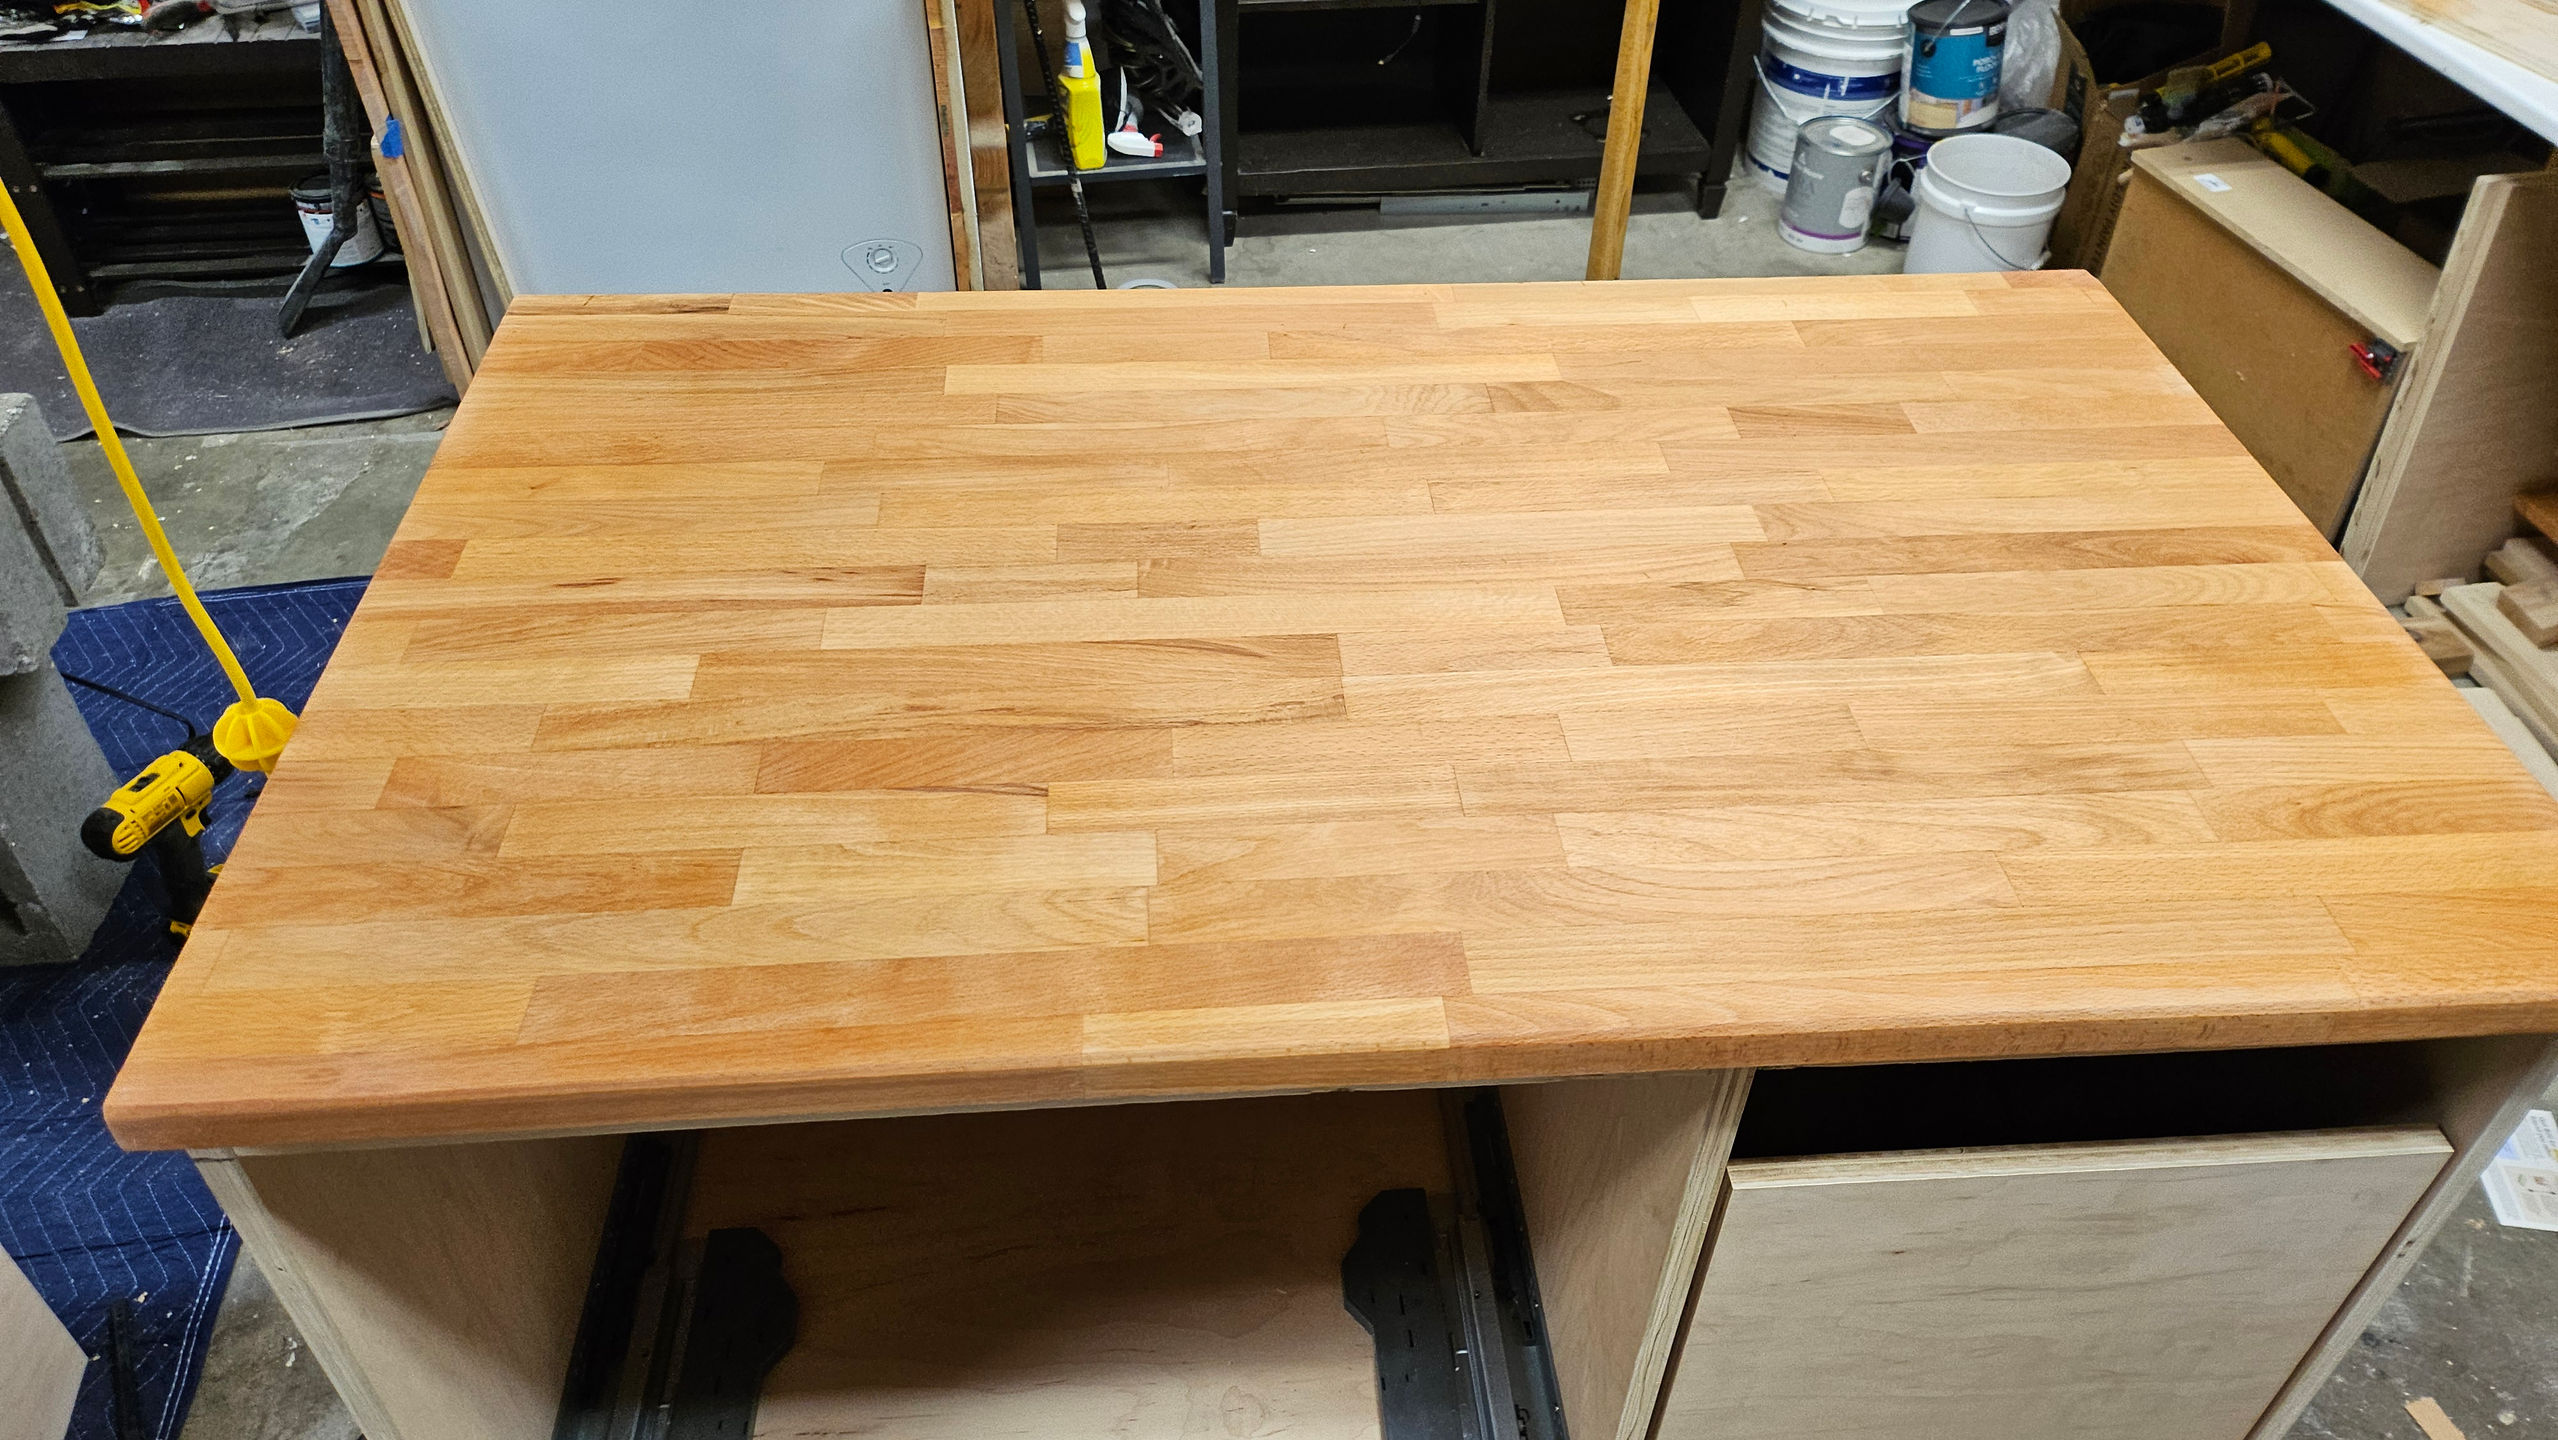
The drawer faces and cabinet top look great! So happy with them! I hope nothing bad happens…
Okay, so to attach the drawer faces to the drawers,
1. Tape the drawer face to the drawer while attached to the cabinet
2. Using spaces, make sure all drawer faces are equally spaced
3. Drill M6 sizes holes in each corner
4. Remove the drawer faces from the cabinet drawers
5. Widen the drawer face holes from M6 to M10 for the threaded inserts
6. Insert threaded inserts into drawer faces
7. Install!
Easy, right? The only thing I have to worry about is not drilling through the drawer face. Or so I thought.
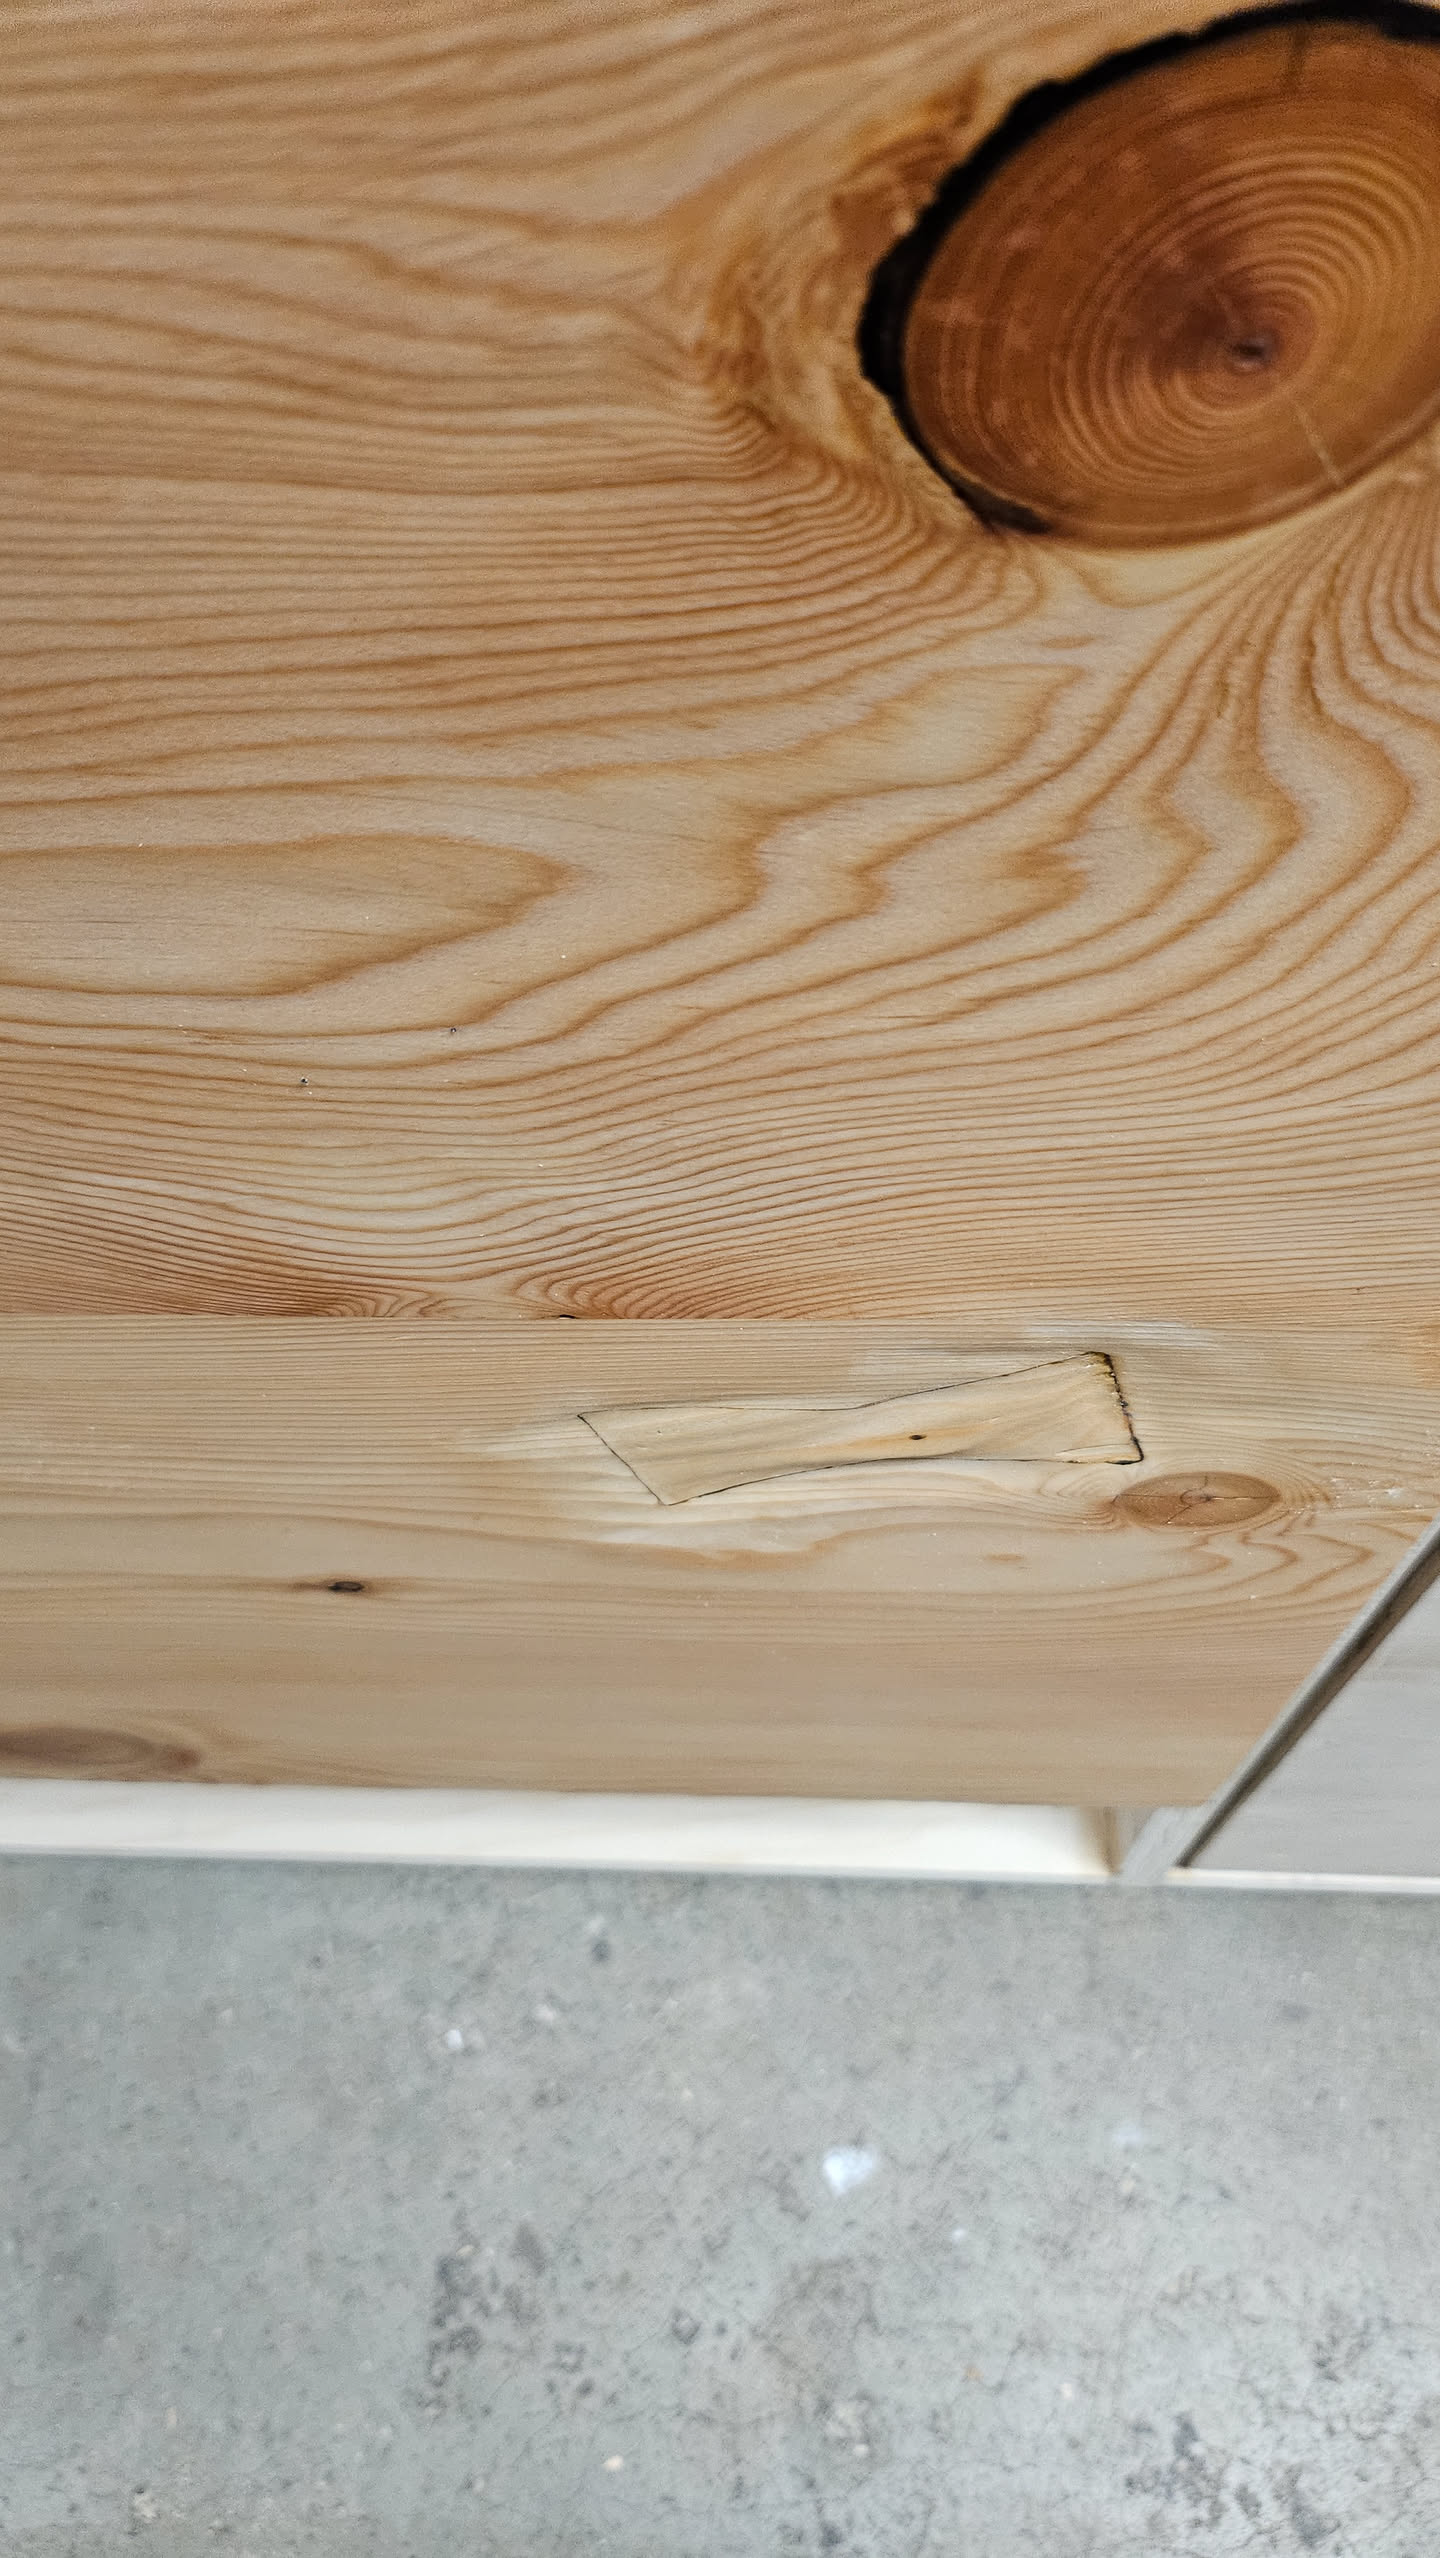
Well, as I inserted the threads, the pressure caused the front grain to splinter and crack. Great, well at least I can practice my bowties… But first, I need some bowtie templates!
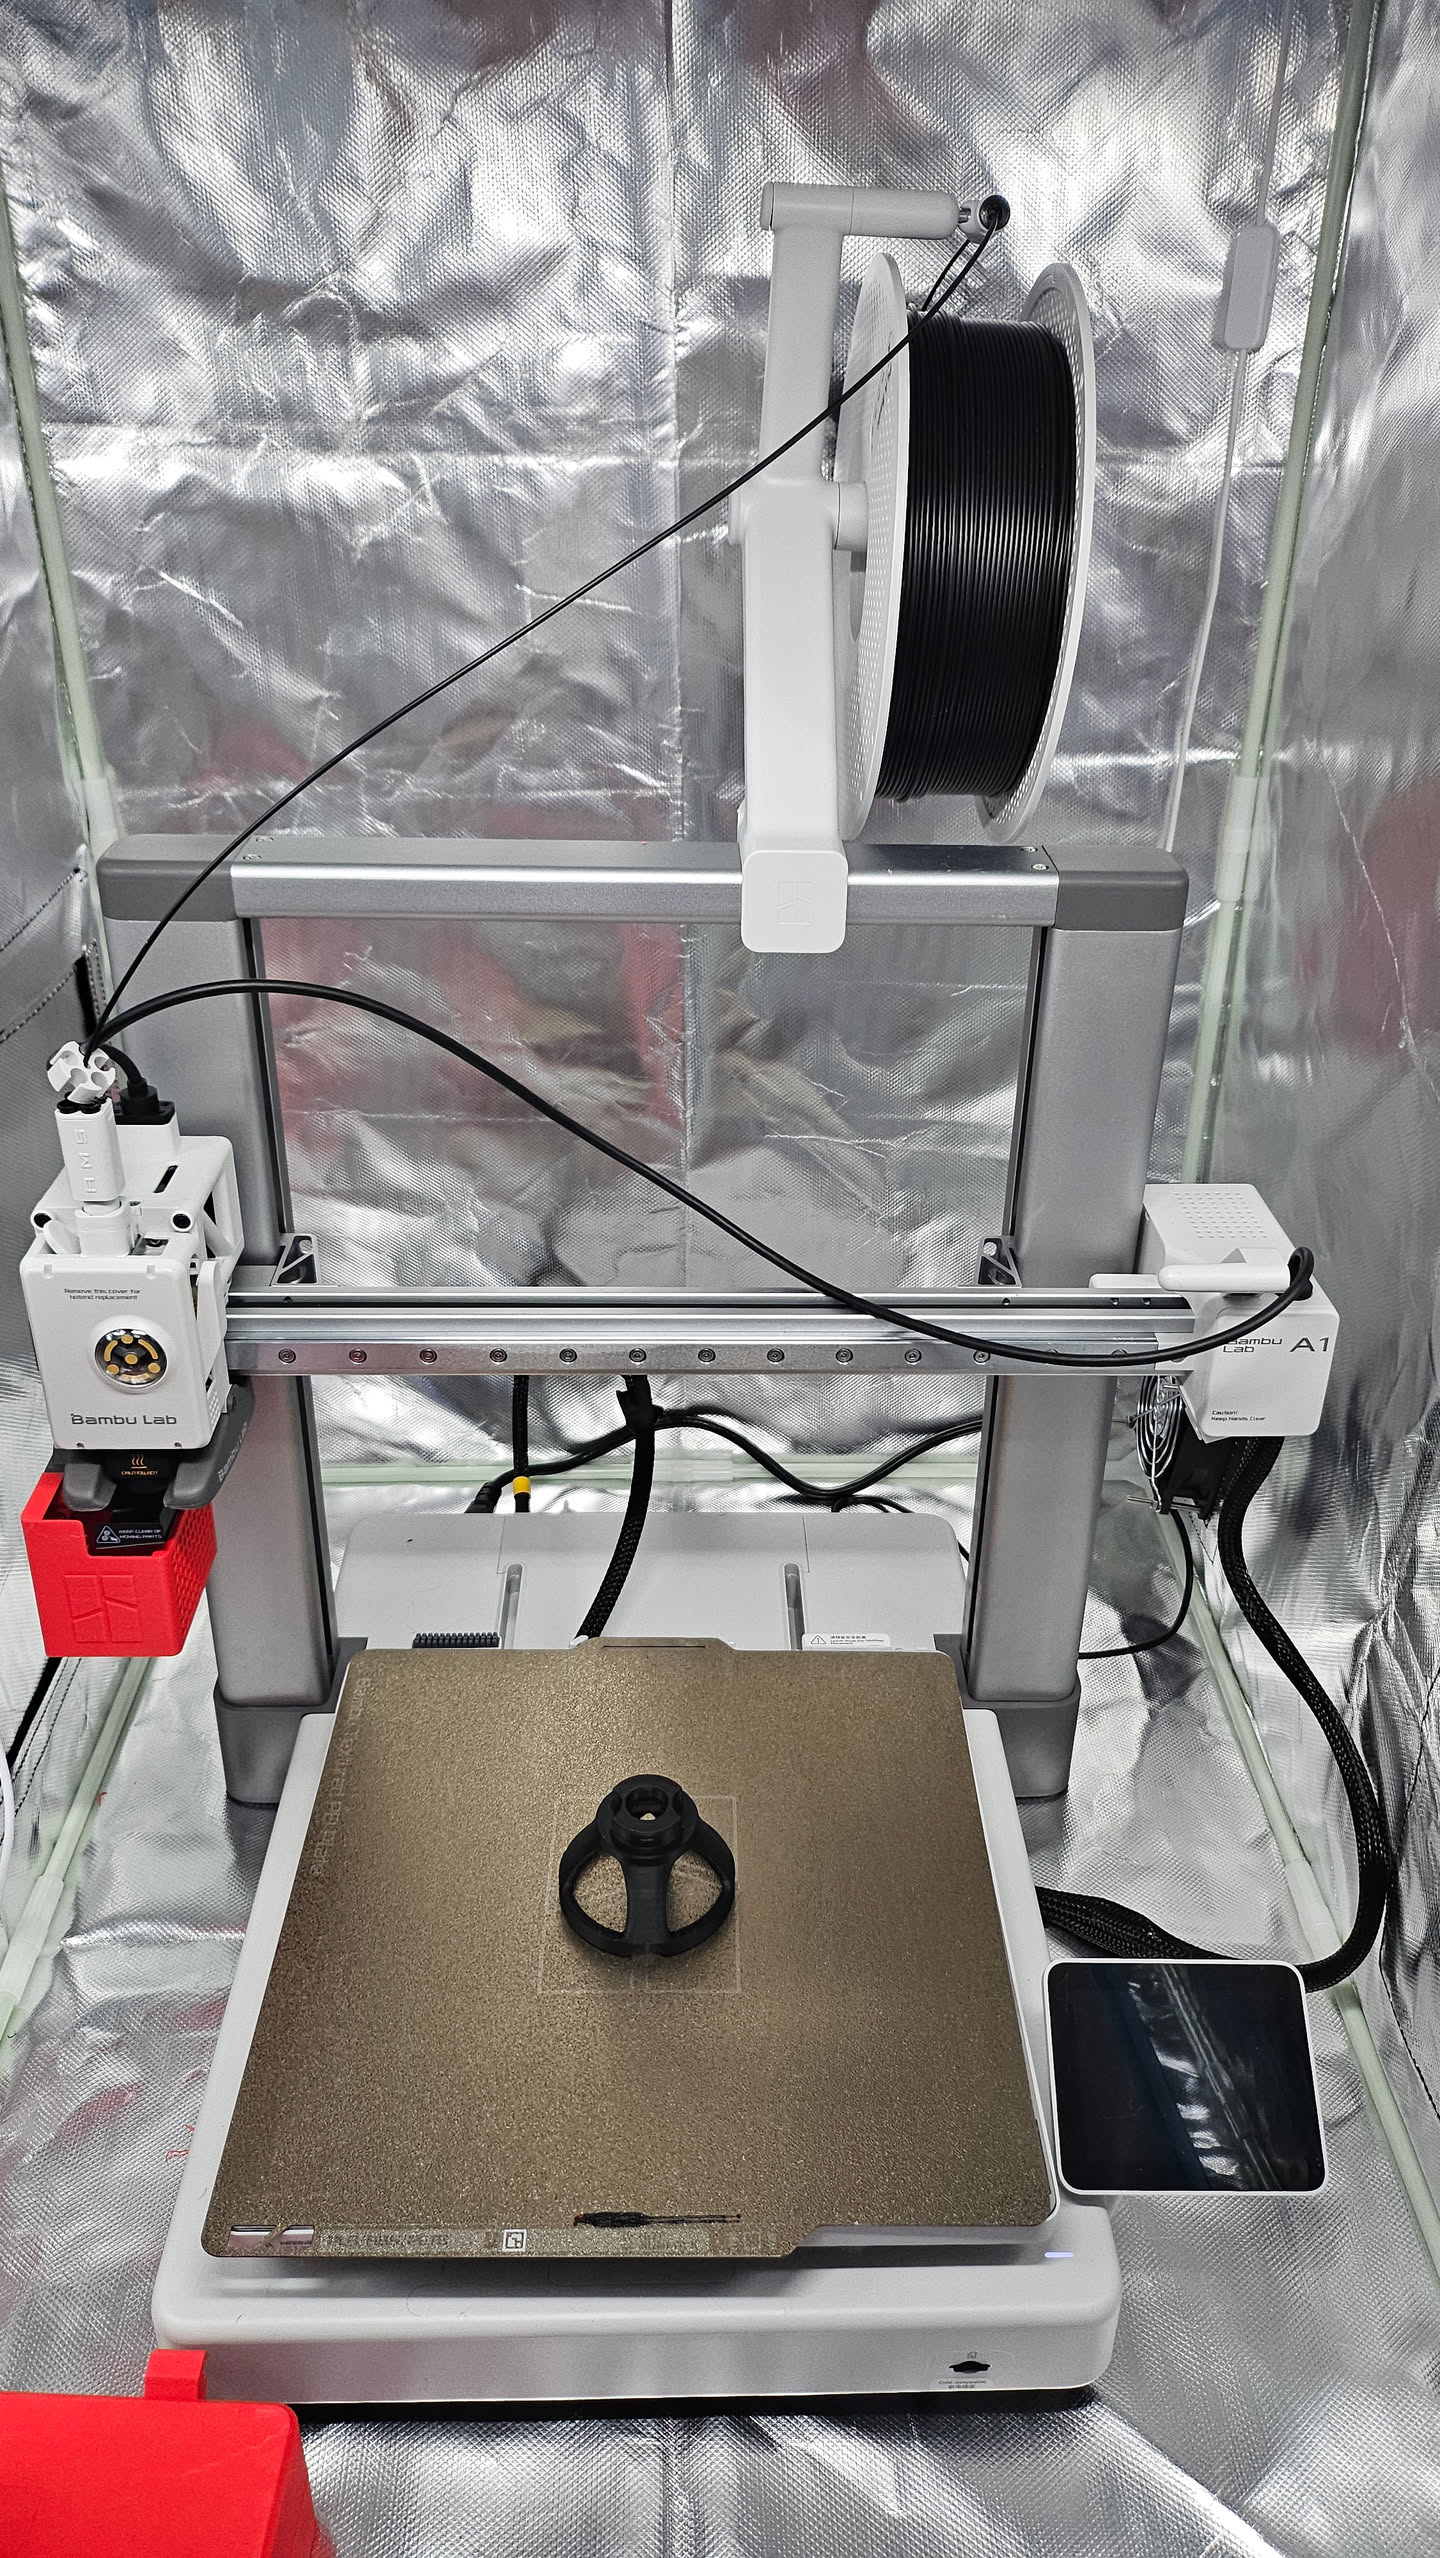
Looking online I found the prices for these templates to be insane. So I used this excuse to buy a 3D printer. I've been thinking about this for a while, lots of the tools and jogs for wood working could be easily printed, router templates for example I could print and modify and print, so cool. Looking online, I bought the Bambu A1 printer, it seems like the best entry level printer. Here's a print of a drill guide, allowing for straight holes on flat and 90 degree surfaces, pretty neat.
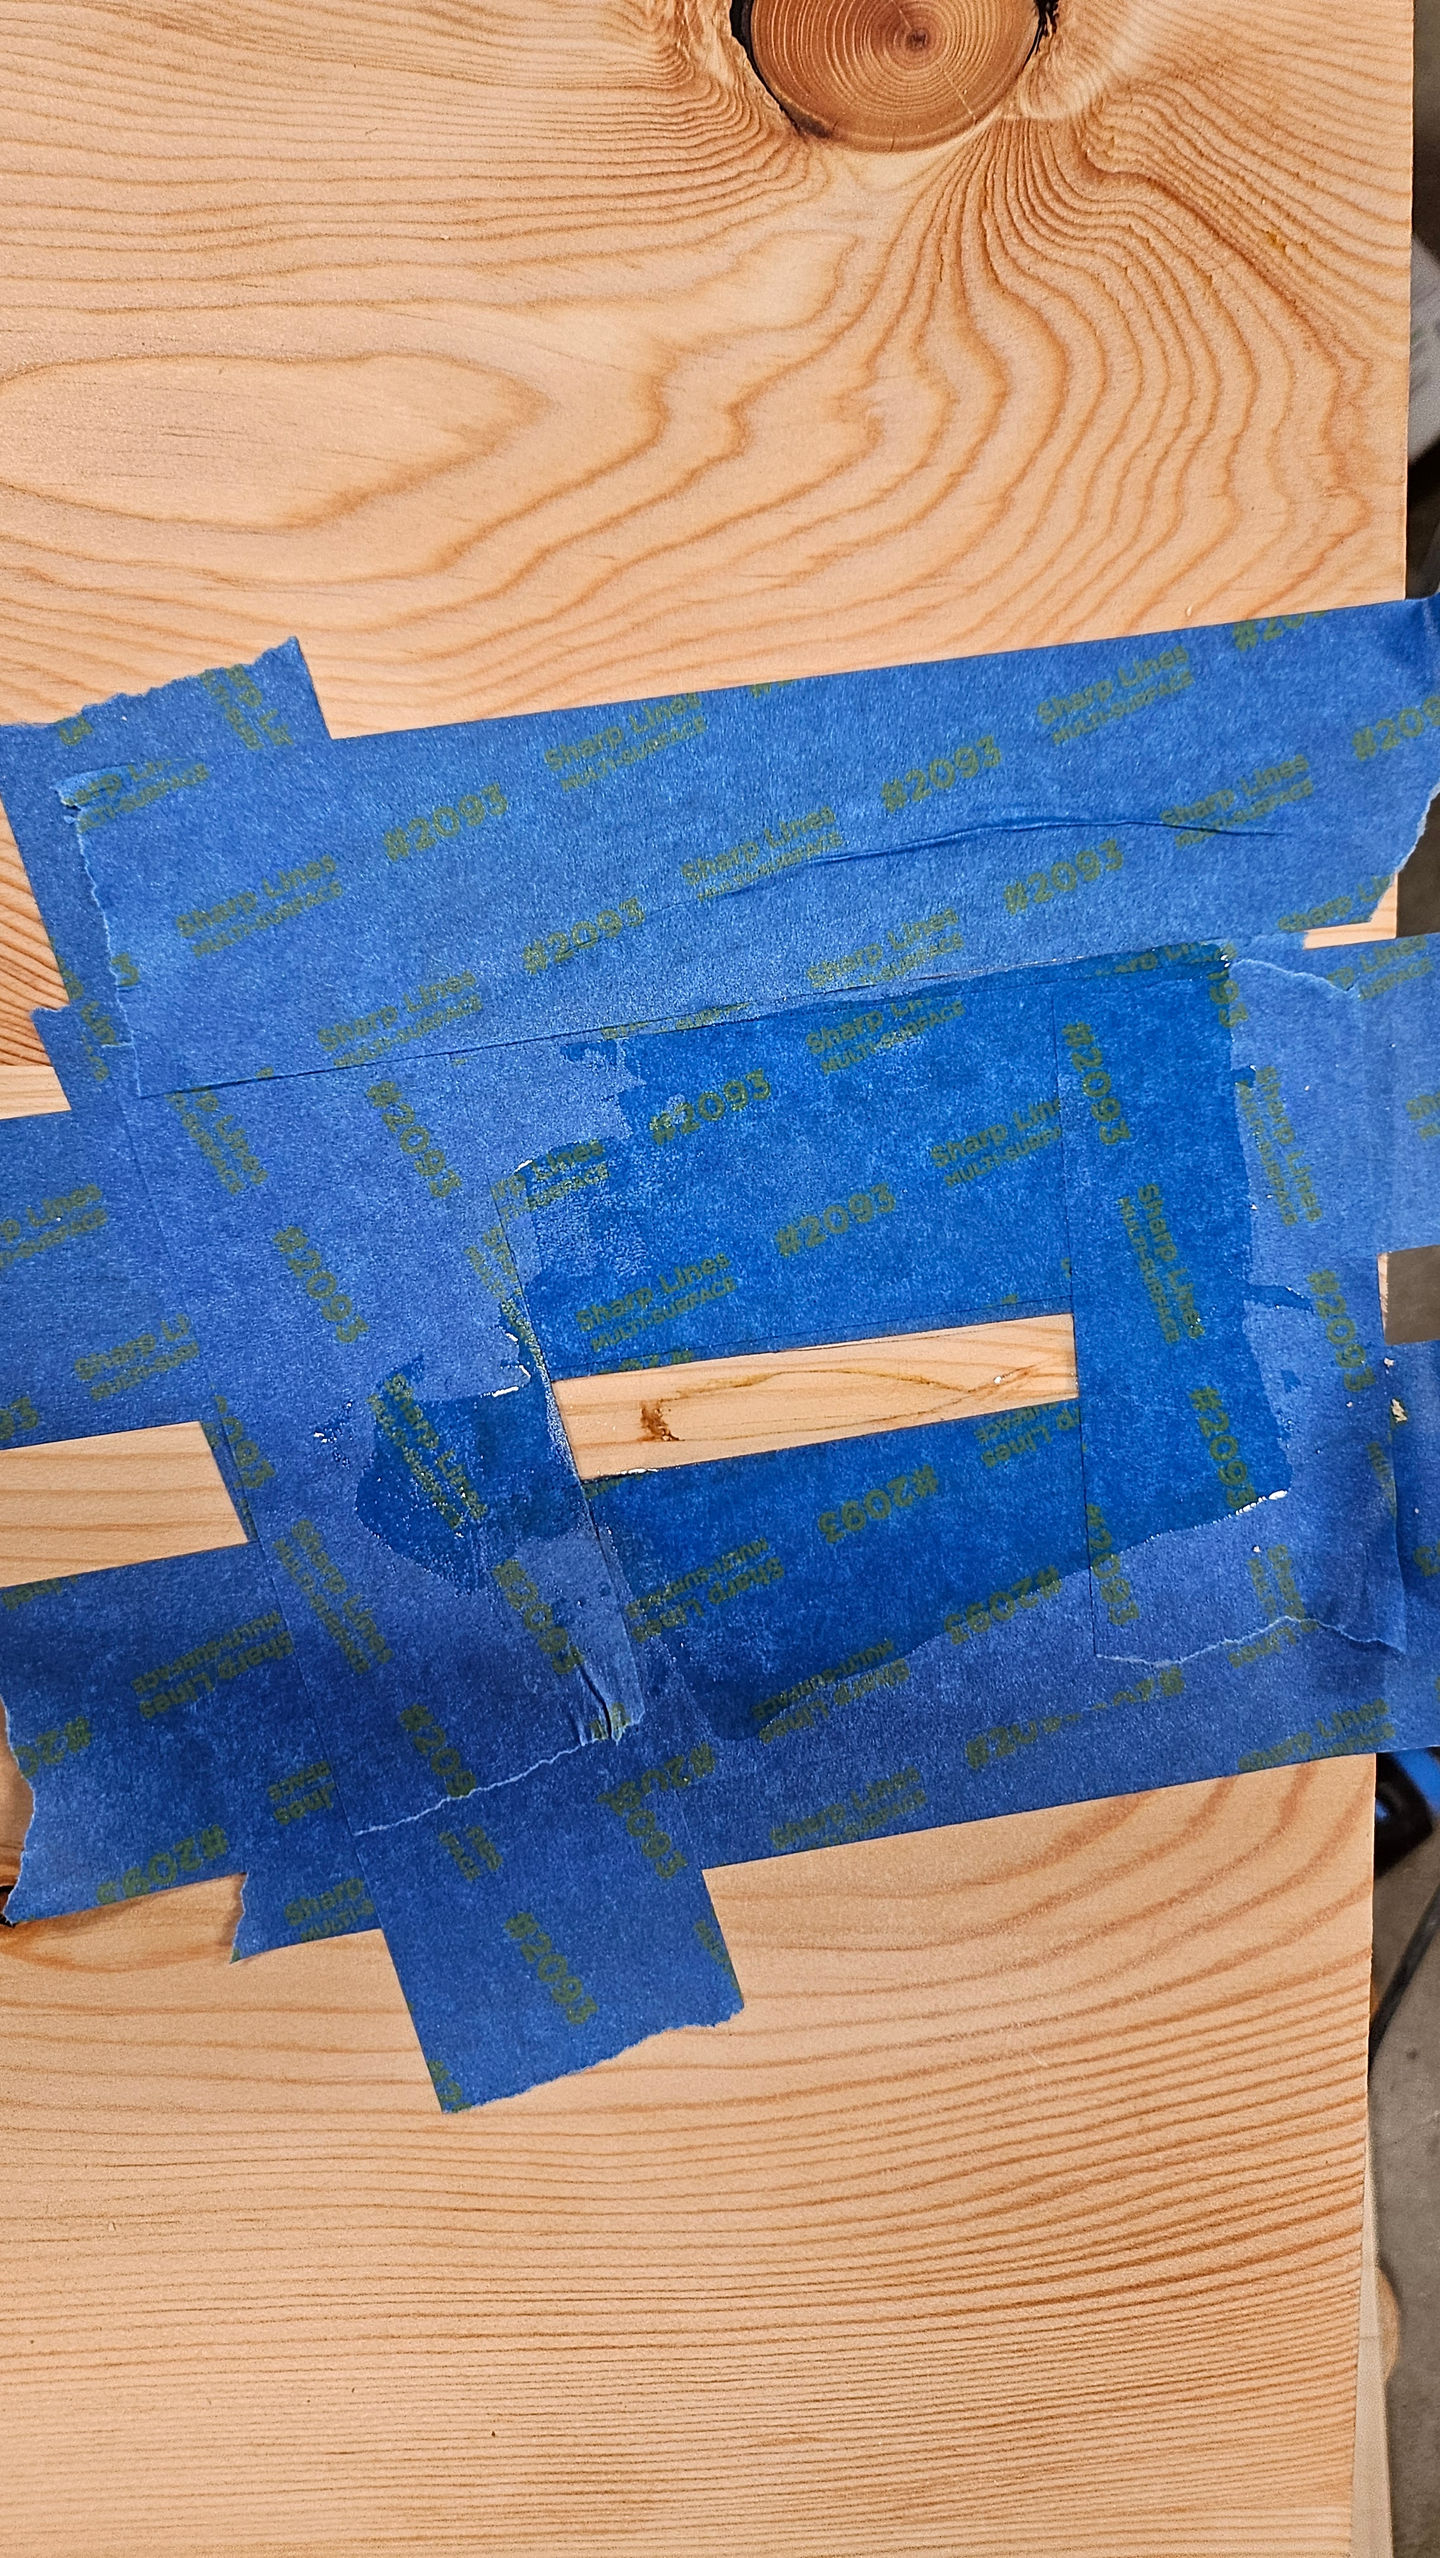
I don't like it, I made a mistake here and decided that adding a black border could be nice. Unfortunately the surrounding wood started to soak up the CA glue a bit too much, making the dye uneven, no good.
On top of that, my first time using a band sander to sand the bowtie down ended in disaster. It just keeps getting worse.
So I decided I would wrap back around to this once done with the cabinet, I plan to come back and route all of this area down to the same level, then do something epoxy related here, dunno. But anyway, here's the cabinet inside, pretty happy with the spacing and how snug the fit is!
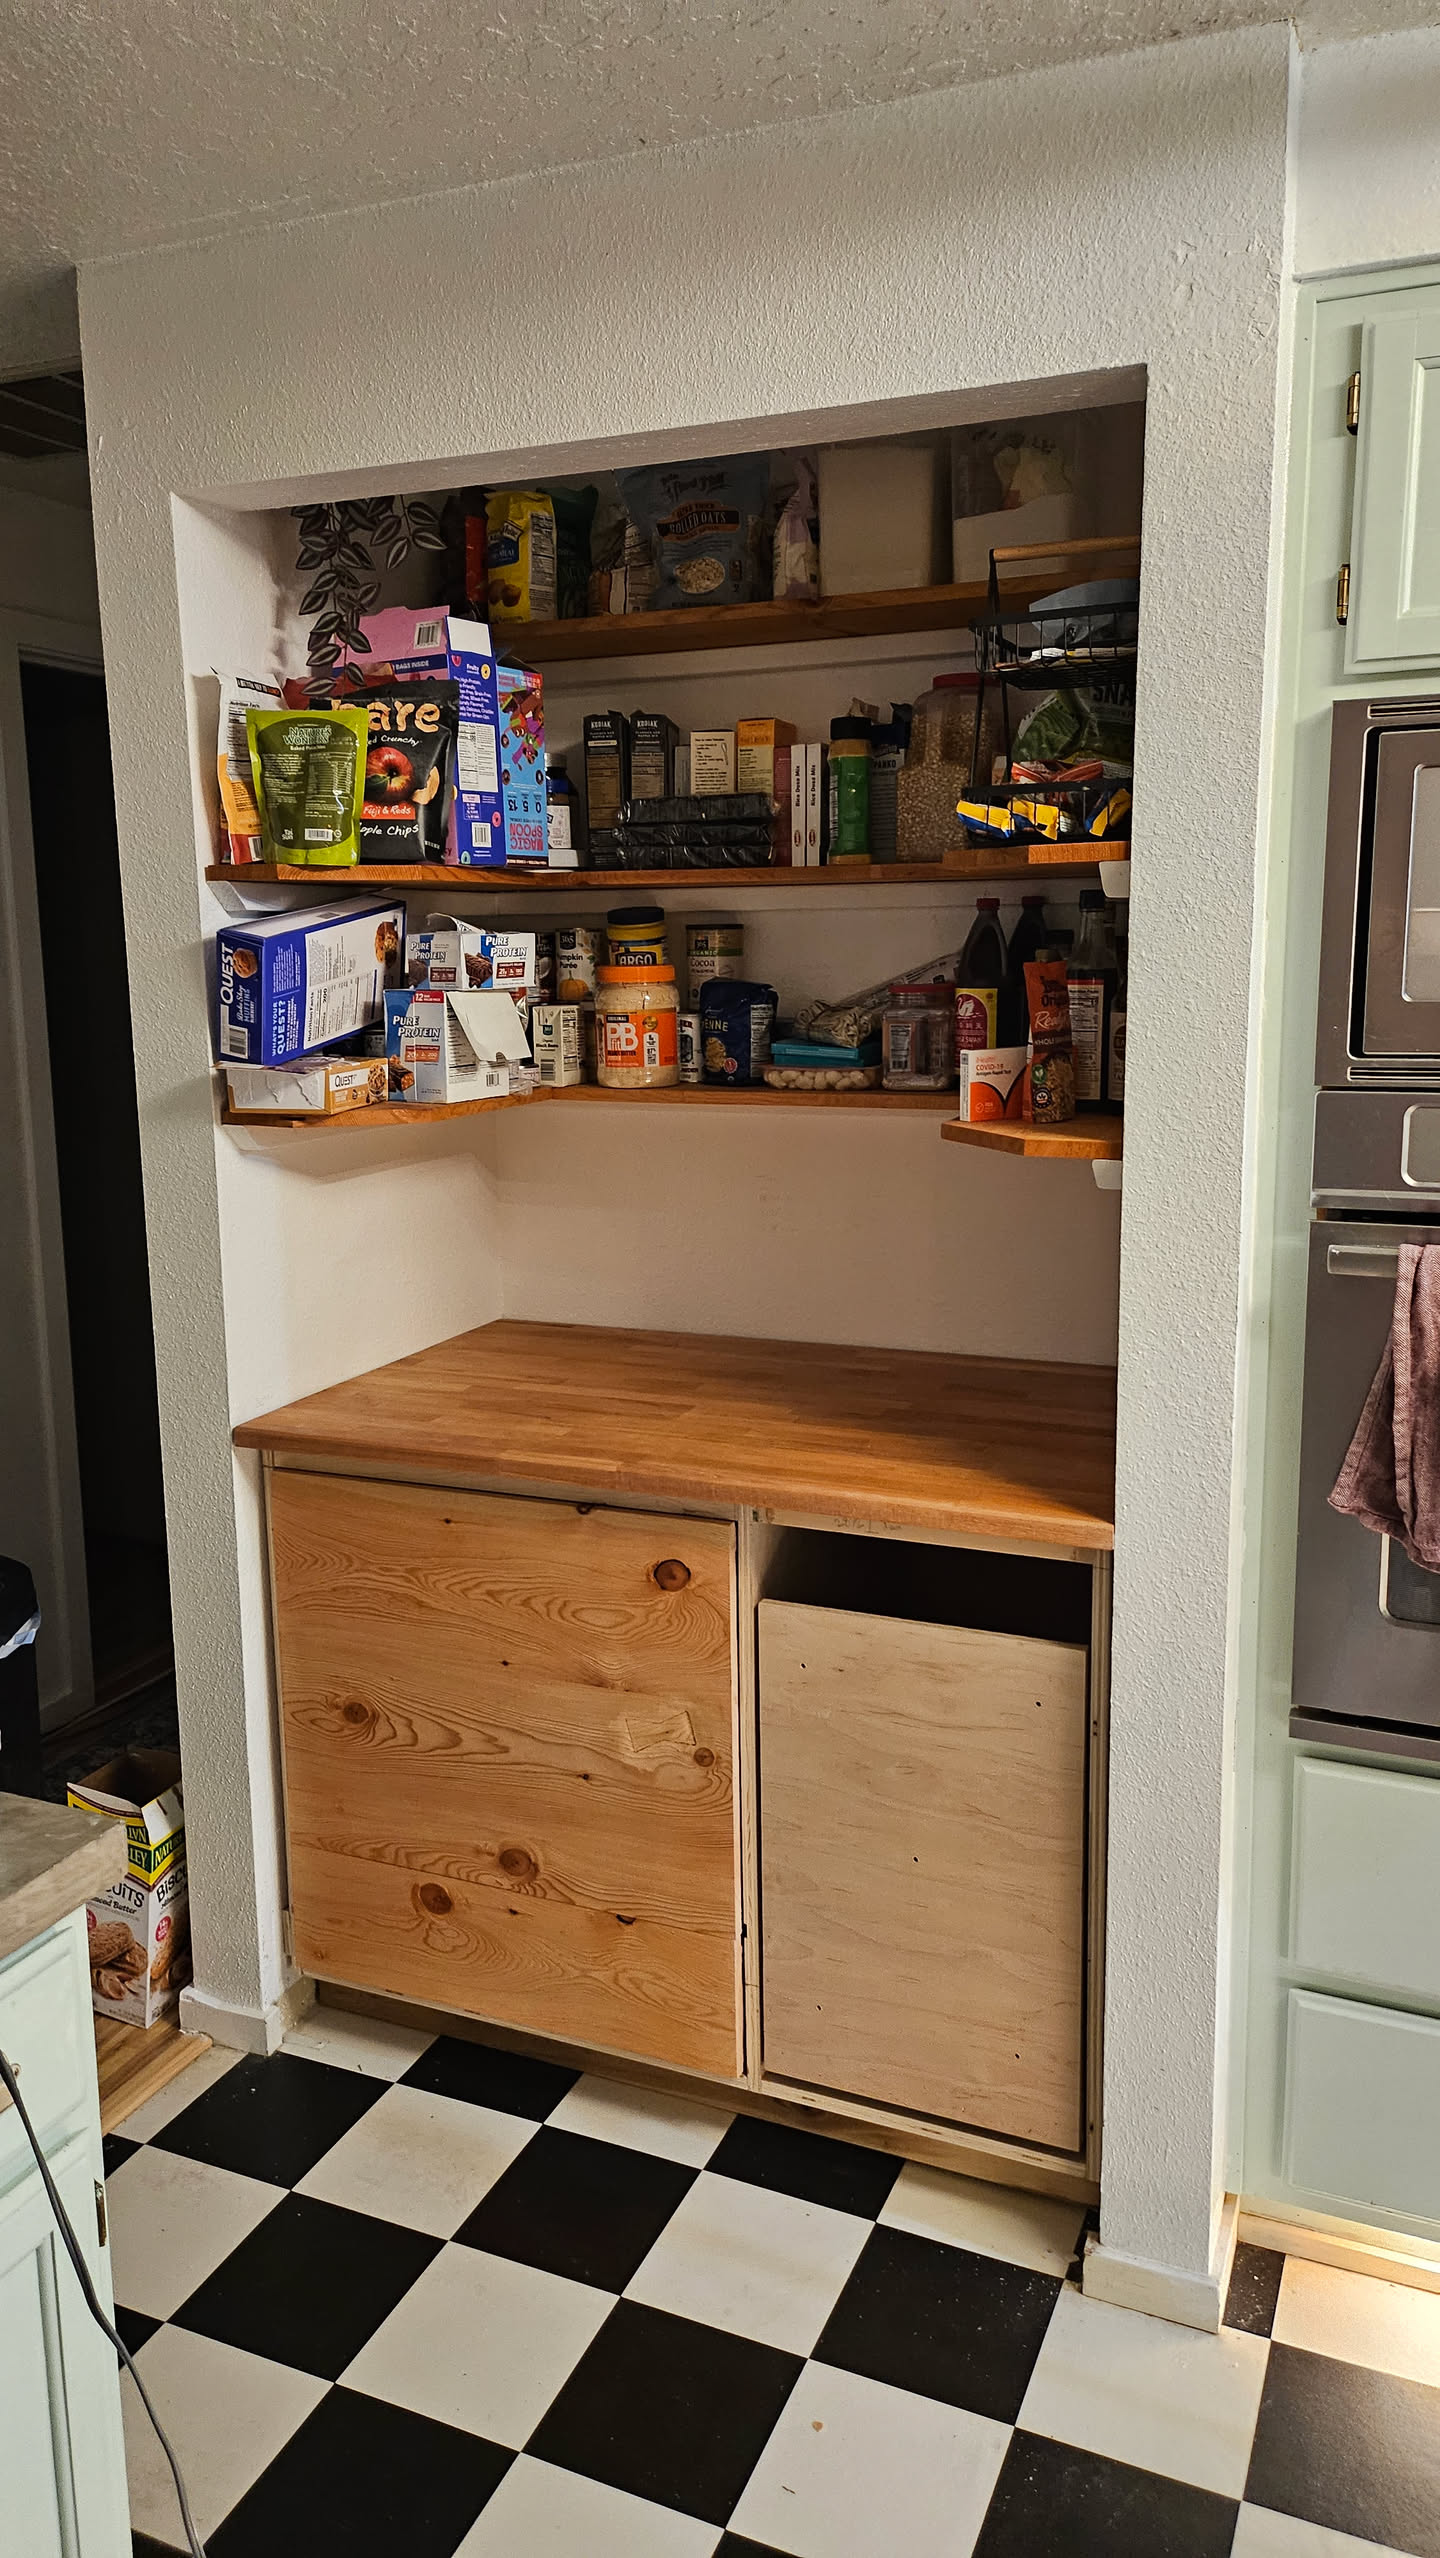
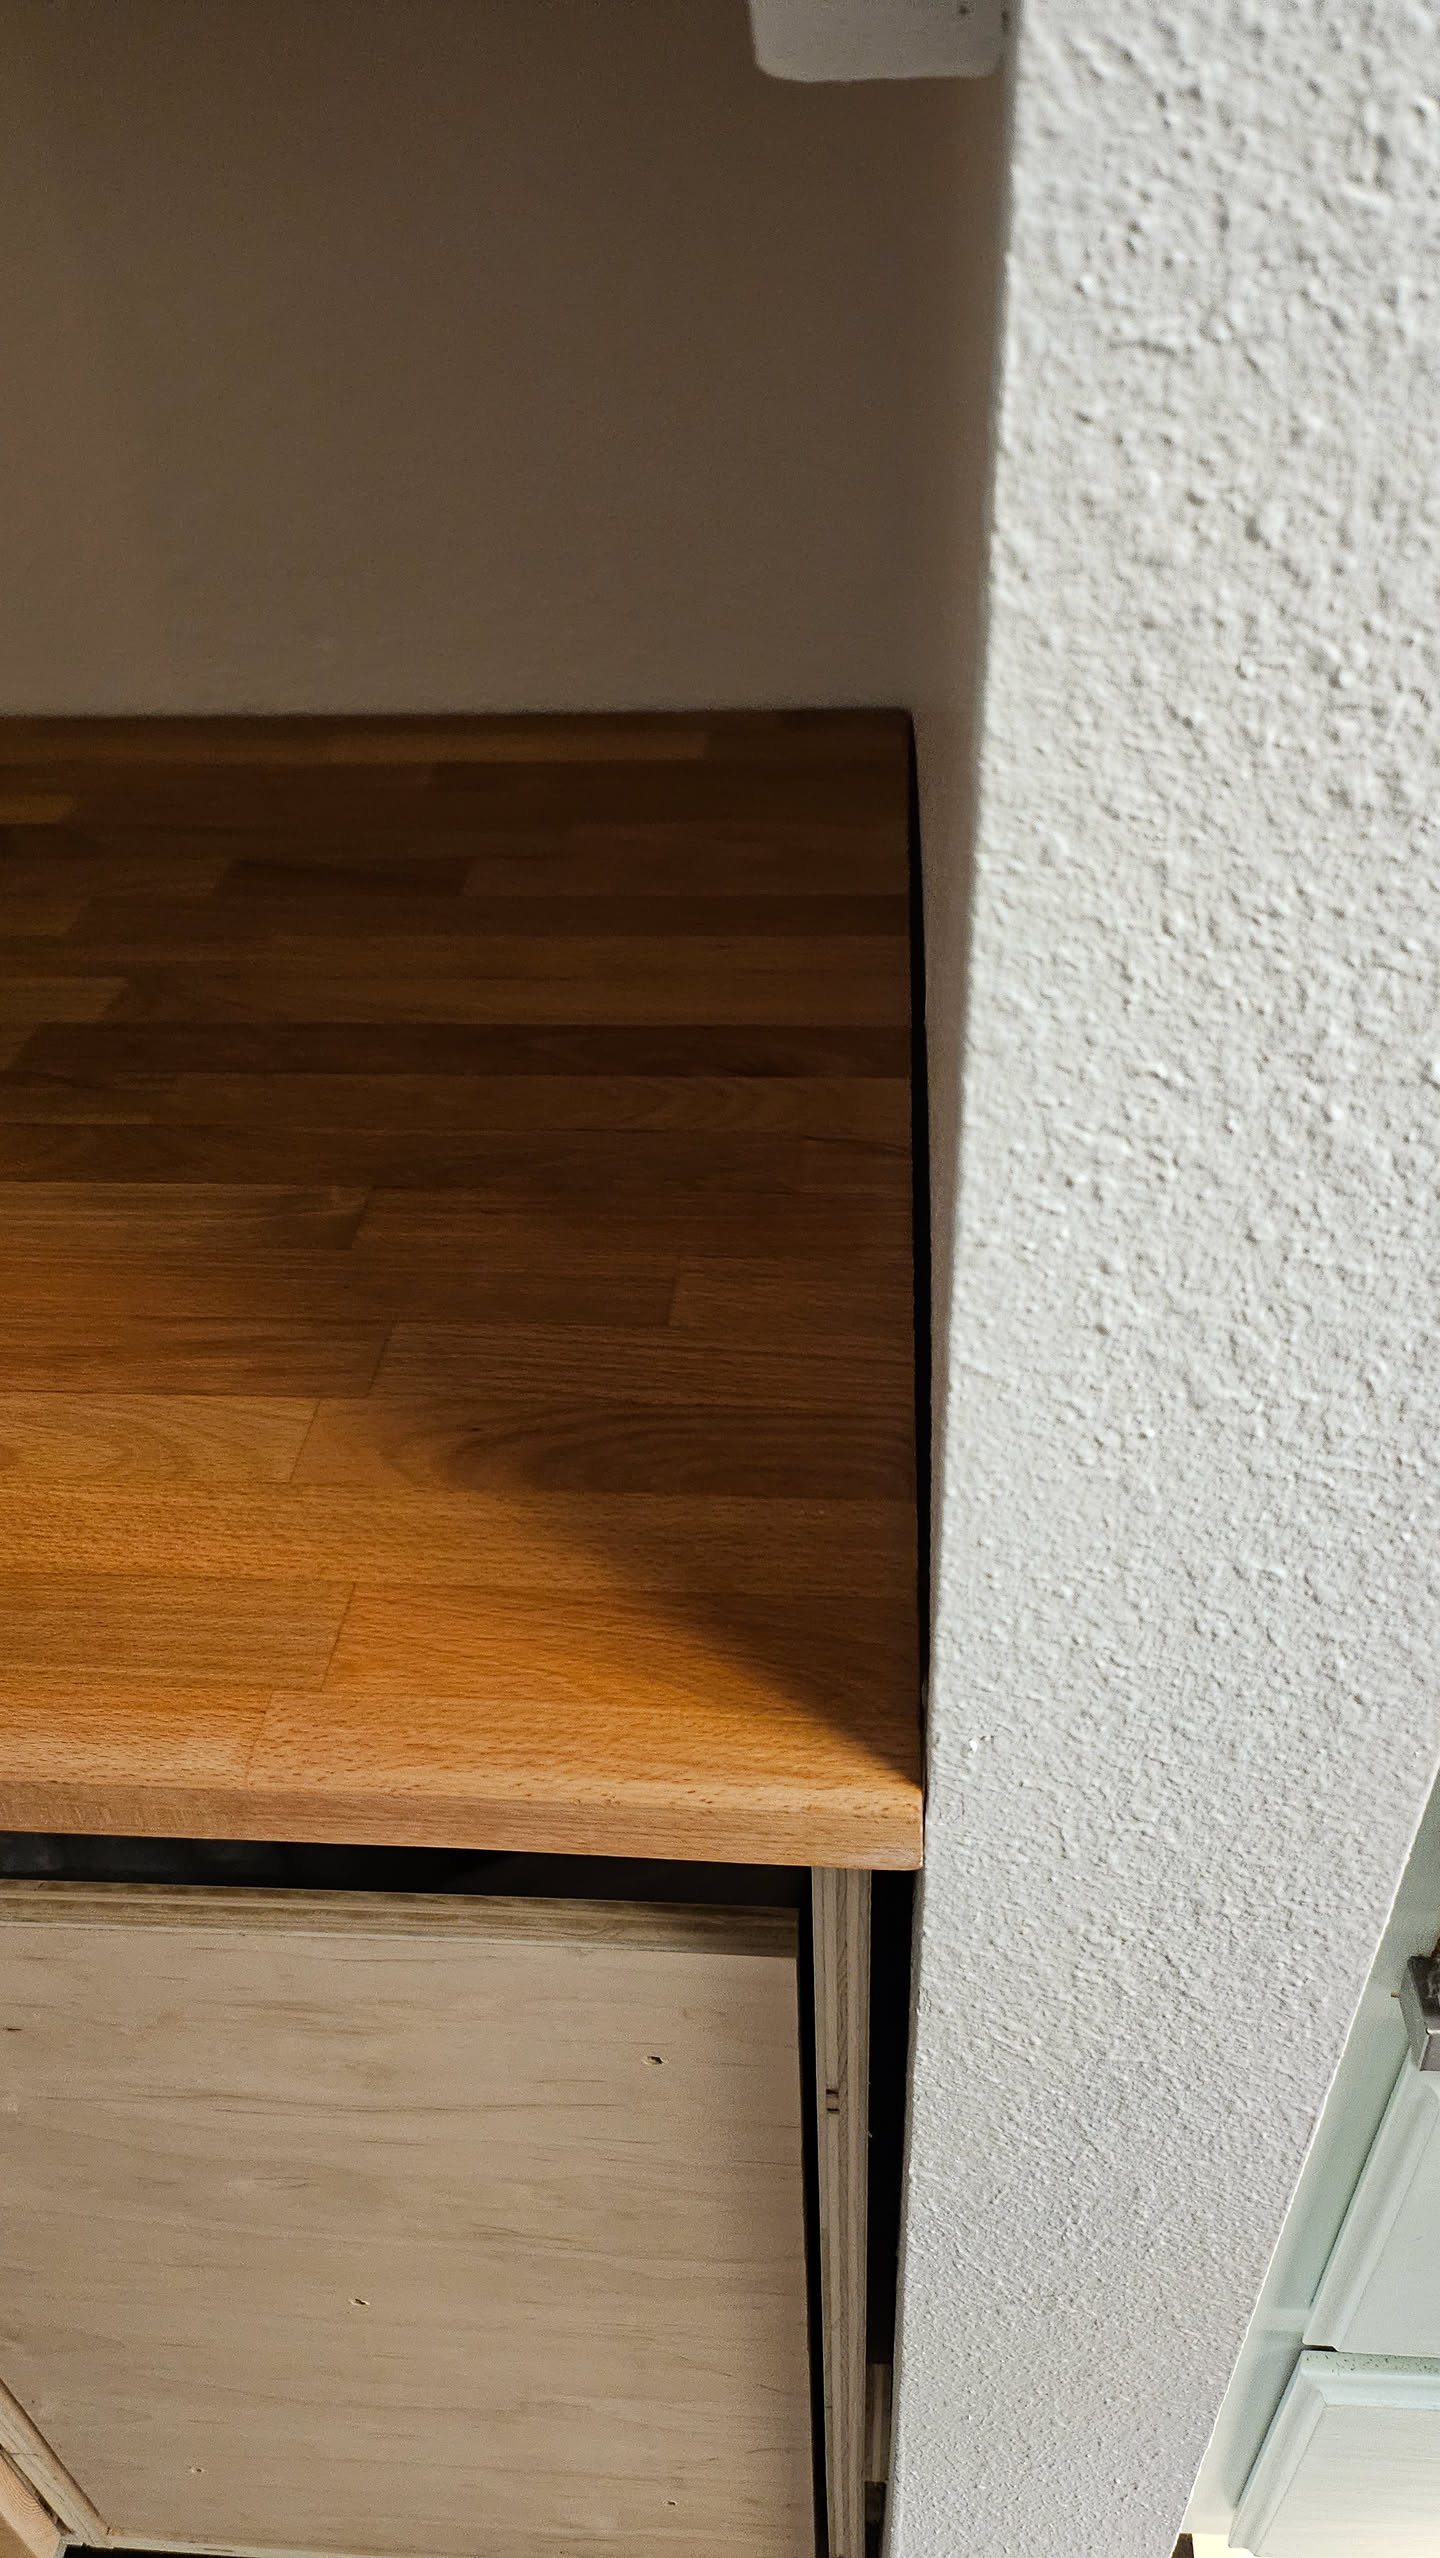
However, moving the cabinet in does remind me of how uneven the studs are. If I want to hide this, I might come back here and add some flexible trim along the inside of the pantry closet, this is fairly minor at the moment. However, it would be important to make sure liquids and such doesn't escape down the side of the cabinet and warp anything.
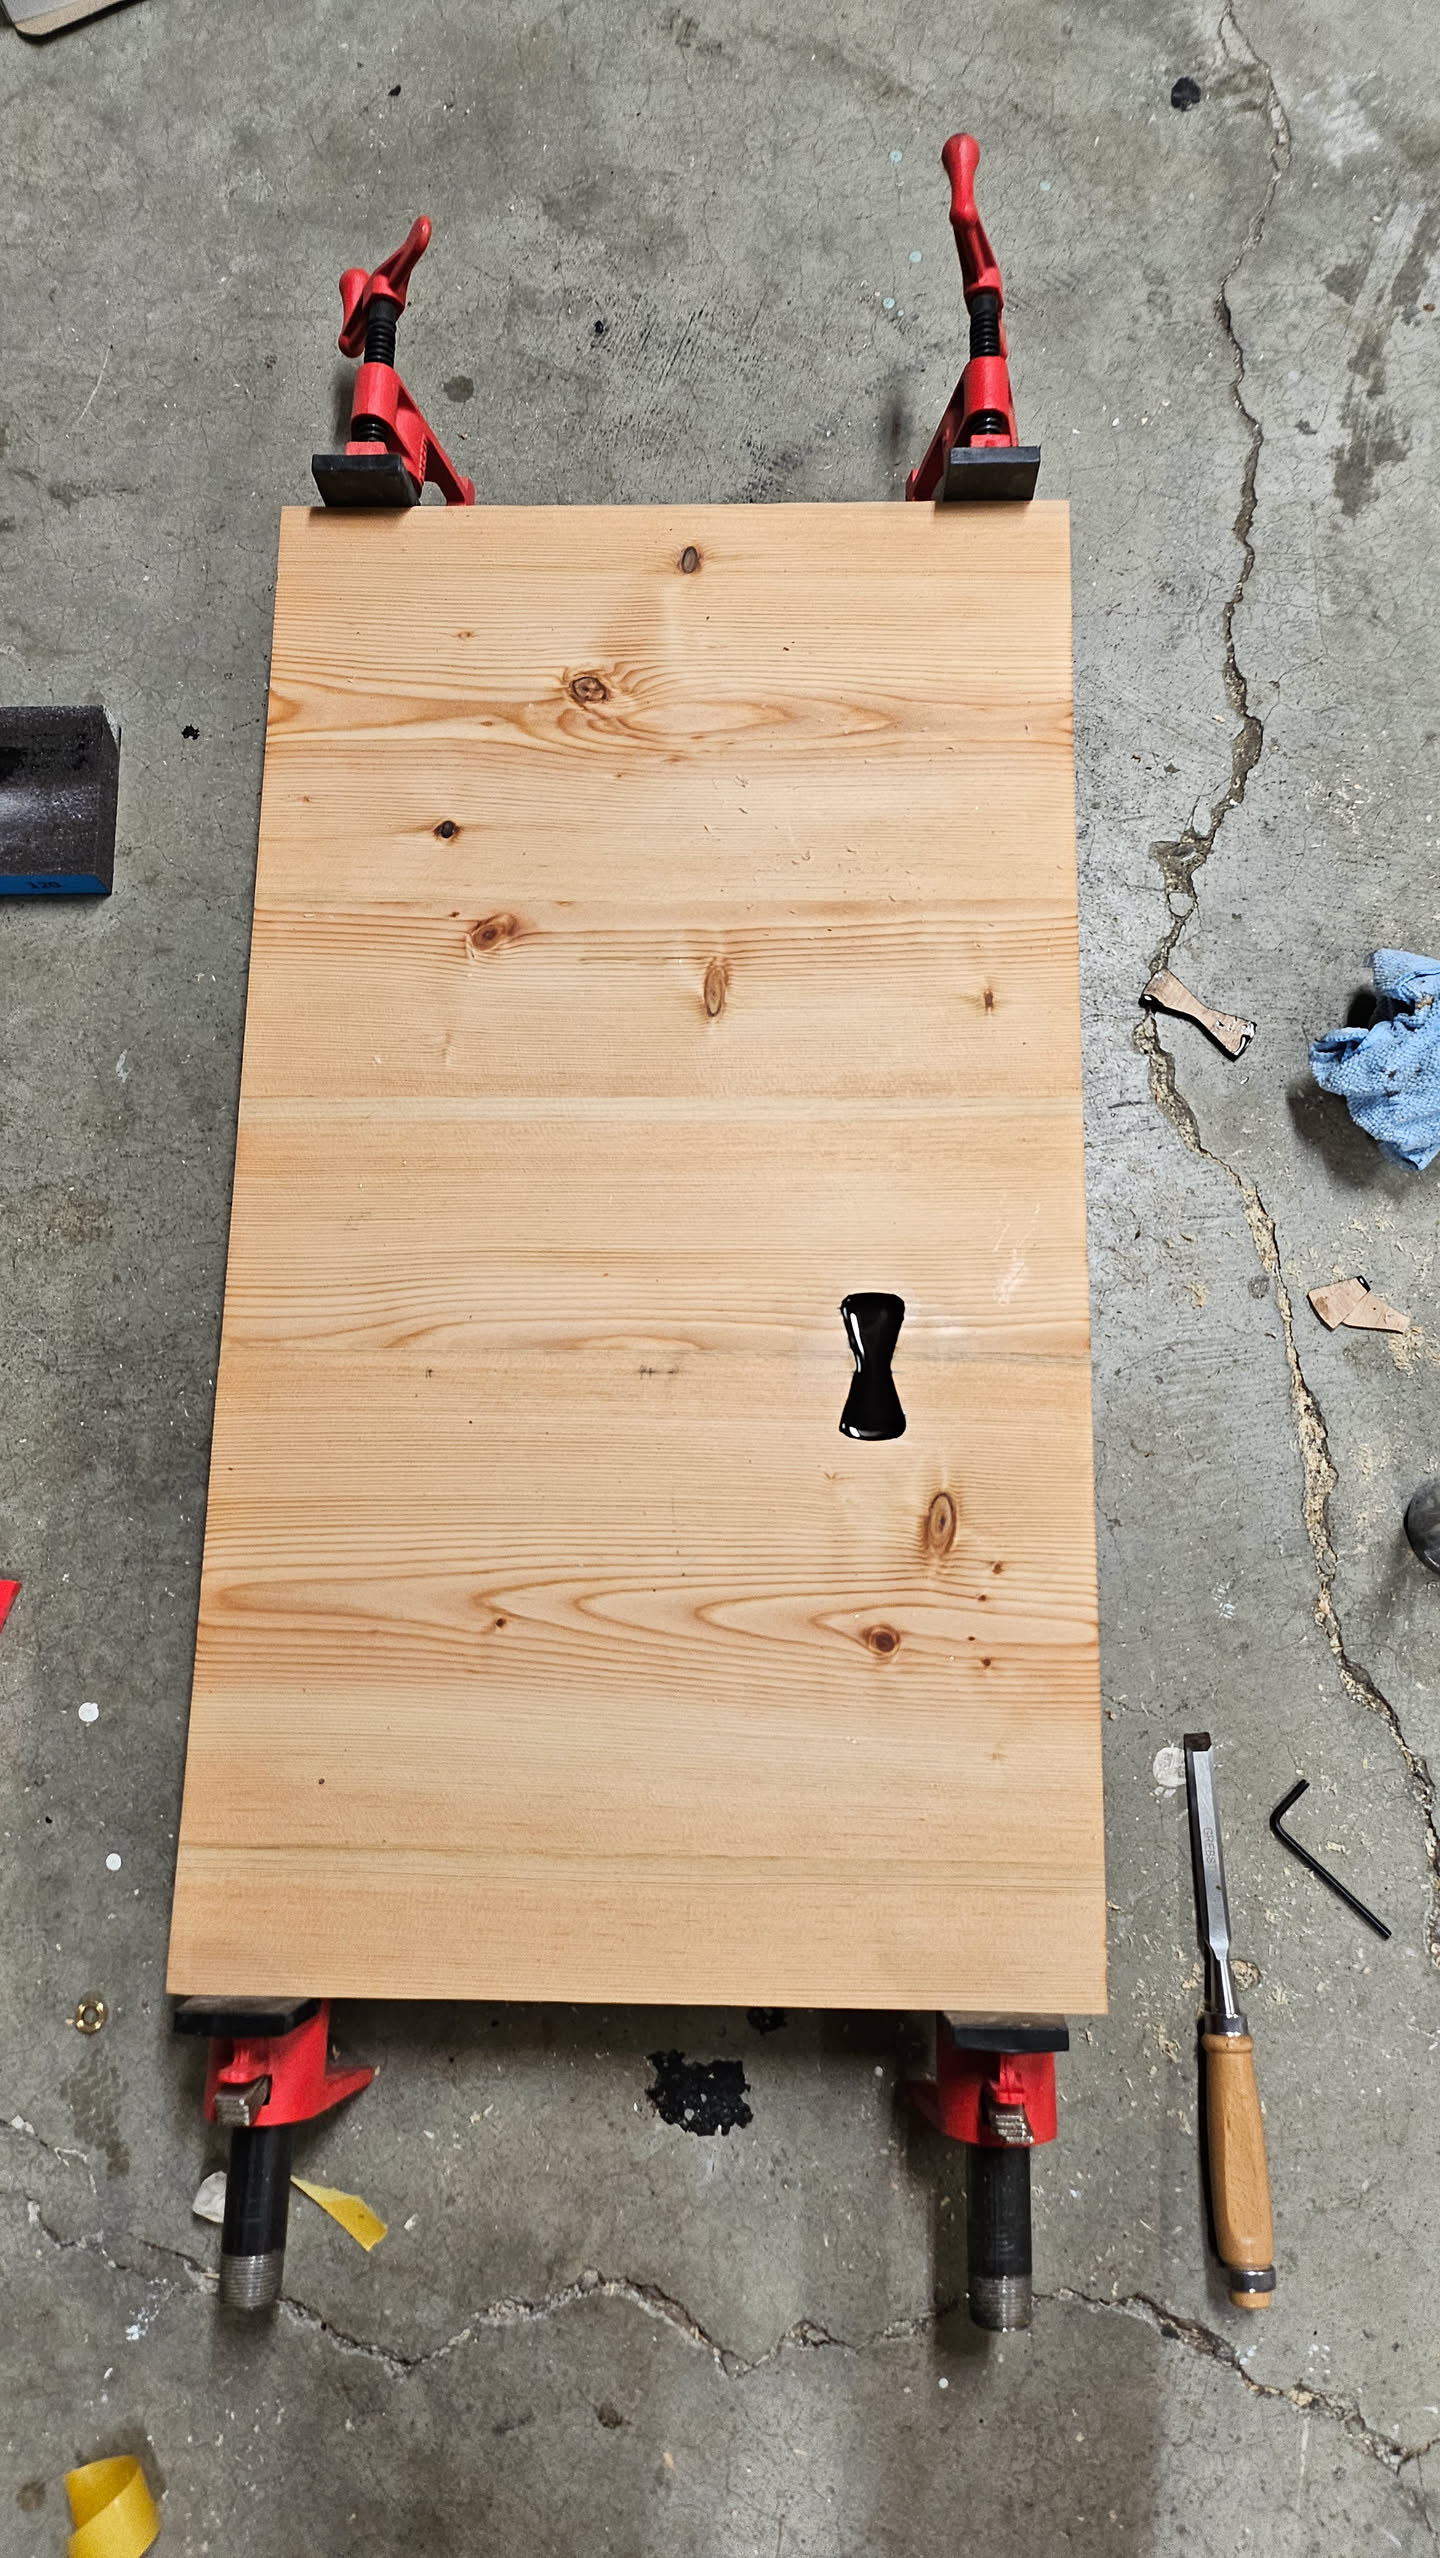
Finishing attaching the drawer faces, the smaller drawer attachment went well, but the garbage drawer face, not so much. While pulling the face off of the box, the face split below the tongue and groove joint. Damn. Seems full border of woodworking tape, plus the force of the clamps for pressure was a bit too much.
Fortunately, nothing some wood glue and some epoxy bowties won't fix, and at this point, I'm impervious to the emotional damage that comes with these mistakes, they've happened way too much, oh well.
I gave up on cutting out nice wood bowties for the moment, a skill to practice later. Adding some wood glue and clamps, I then routed the bowties out and added some black dyed epoxy for the base layer. I plan to add a second bowtie on the other side and fill with epoxy. I'm not worried about the epoxy bowties lack of strength compared to wood, these will be mounted to a cabinet drawer, so they shouldn't need lots of tensile strength.
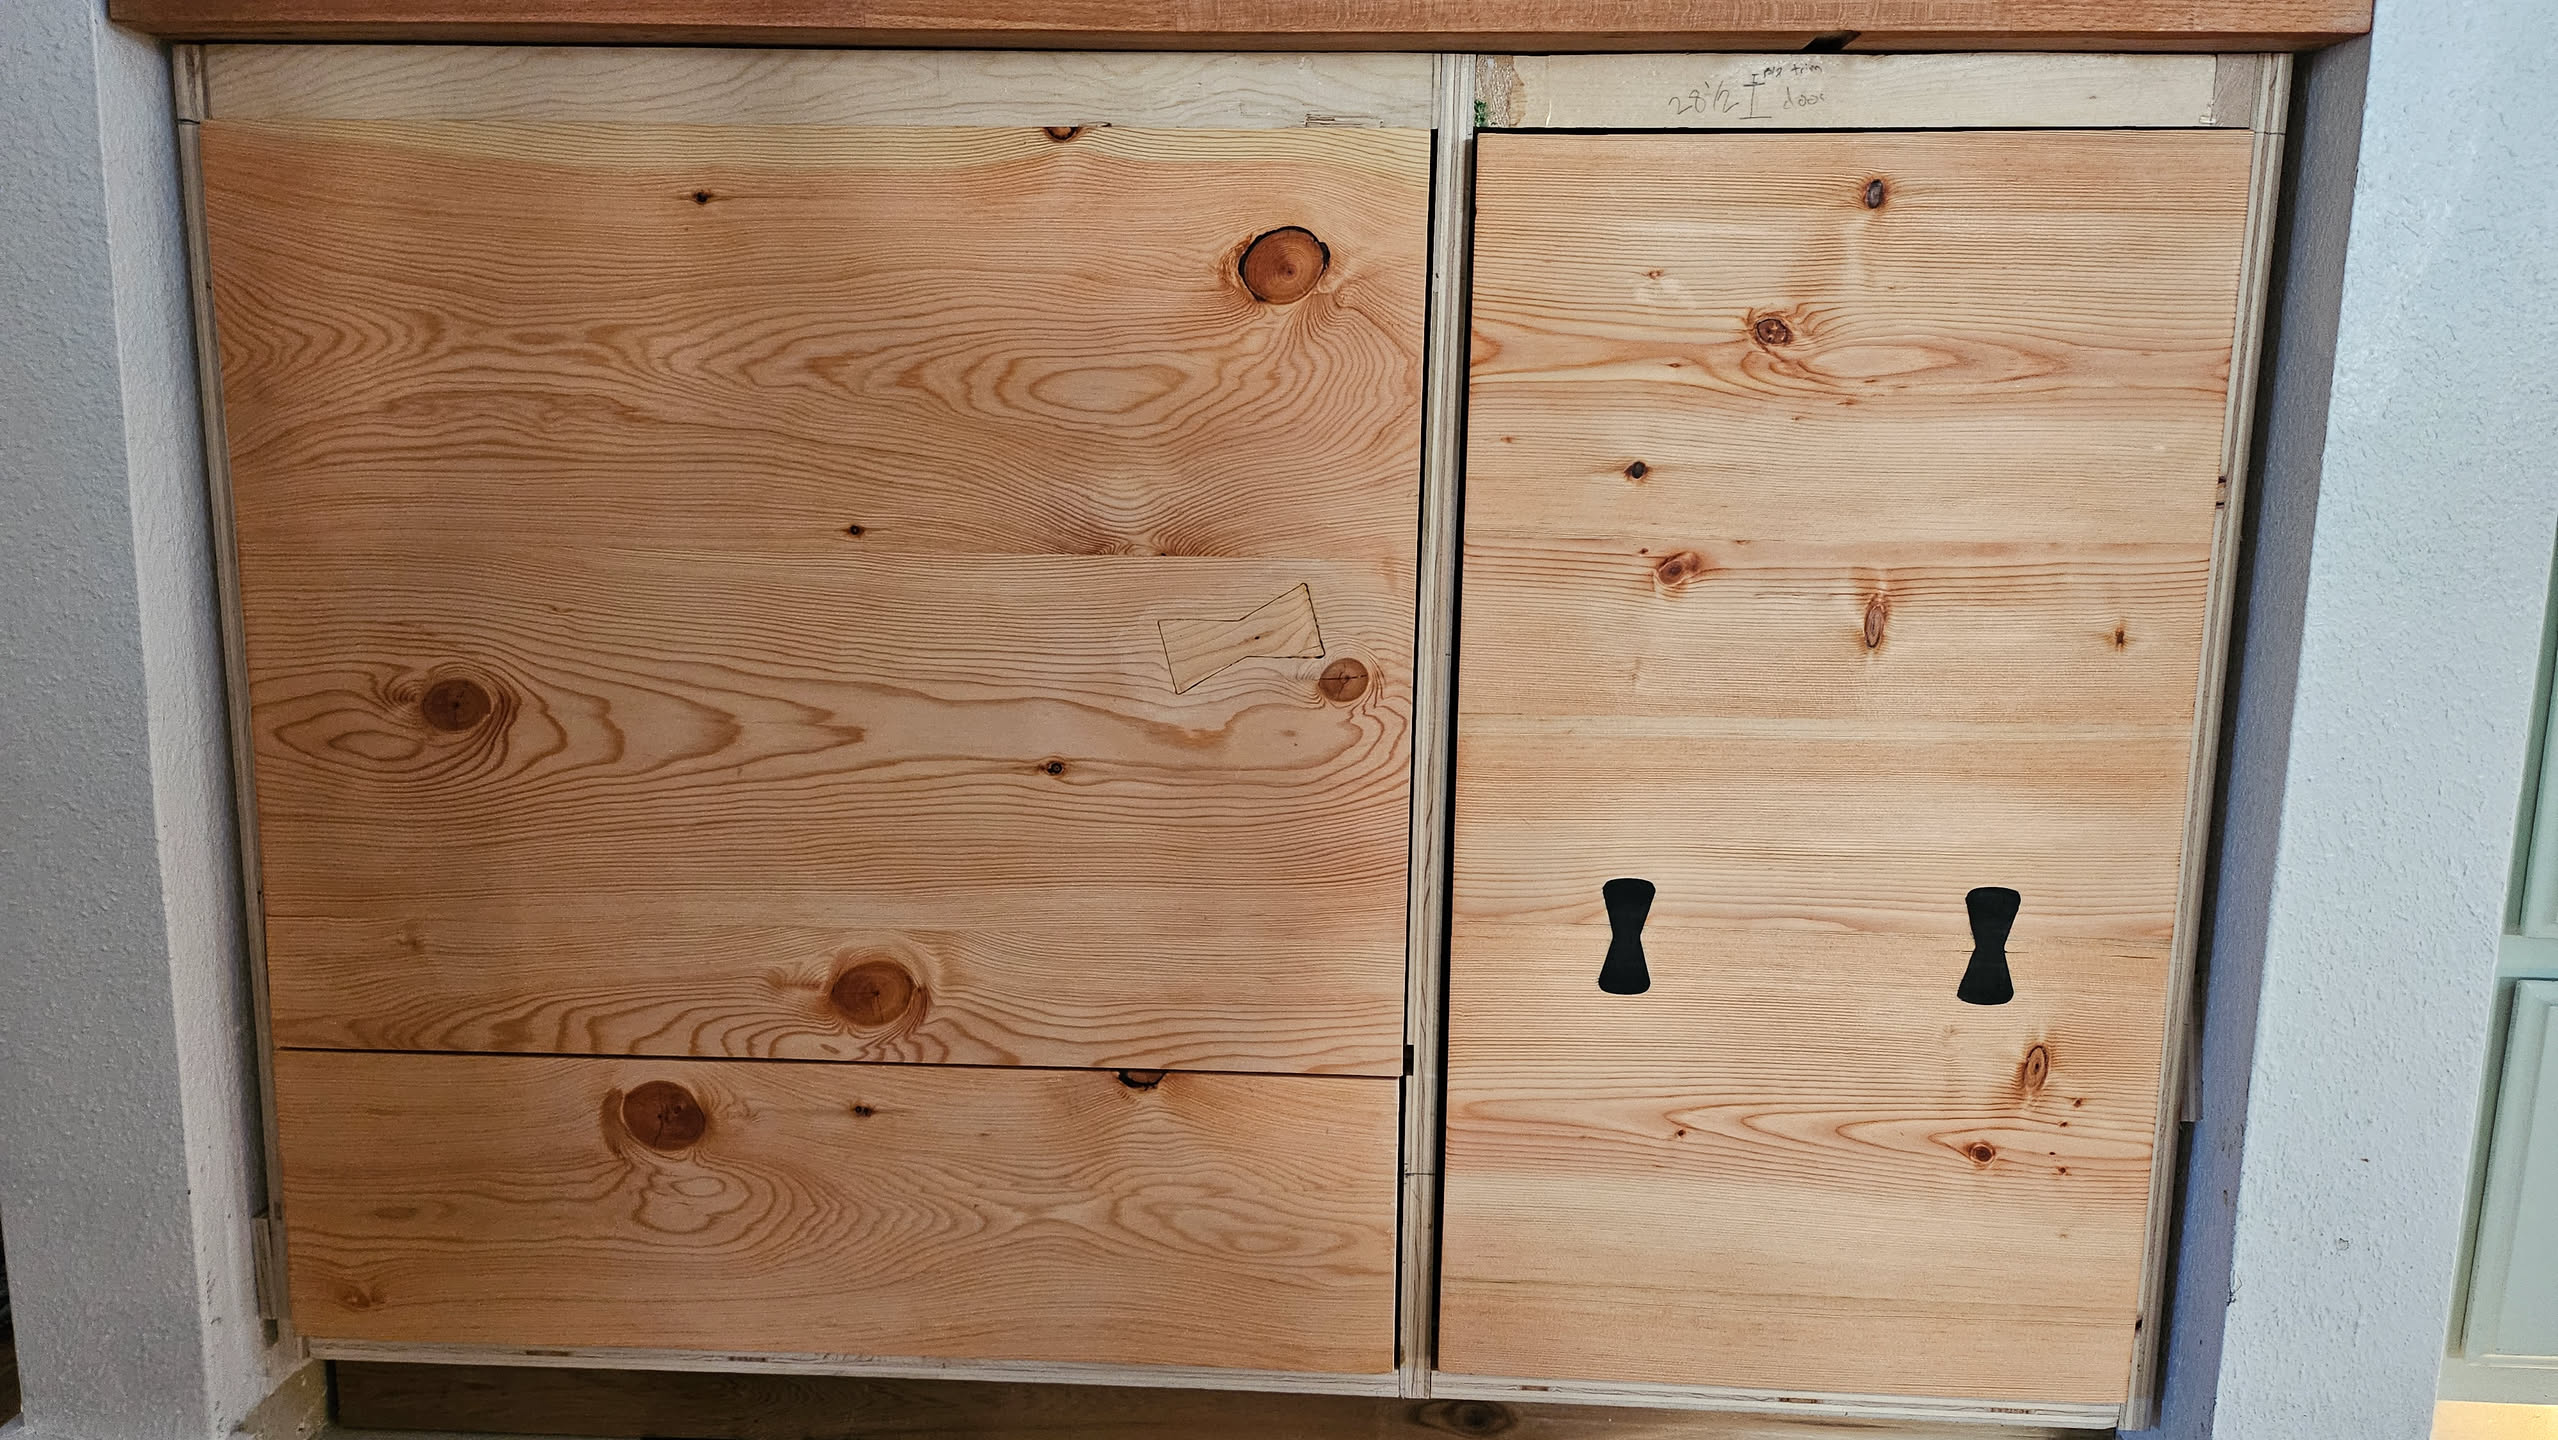
Installing all cabinet doors, looks pretty good! I'm pretty happy with how the epoxy bowties came out, much easier than cutting them out of wood. Did take a couple tries with the
> [!WIP]
> You're now caught up on this project, I have yet to followup with, polishing the boards, attaching the drawer fronts, trim and moving the shelf in!